
How to Make a 3D Model from a Photo in SketchUp Step by Step with AI? Meet the Raya Plugin
3D model from a photo you can make today without modeling directly in SketchUp - all you need is the free Raya plugin and one product photo. You upload the photo in the "Generate 3D" tab (Generate 3D Model) in the plugin panel, set the mesh quality and topology, and after about a minute the finished model drops straight into your scene. Everything happens right inside the SketchUp window: no exporting, no importing, no switching over to a browser. You create an account for free and get 20 credits to start, so you can generate your first model today.
And the reason to reach for it you probably know from your last project. You won't find an unusual armchair in 3D Warehouse or in paid libraries, and modeling soft, tufted upholstery from scratch is a few hours of fighting with the mesh. On top of that comes texture mapping. For some people such a model is simply beyond their modeling skill, even though all it needs to do is stand in the project and look convincing in a visualization.

Contents
Before you start: installing the plugin and creating a free account
You can download the installer from the Raya plugin for SketchUppage. After installation you'll find Raya in the Extensions menu, and you can dock the panel on the right side of the window - exactly like any other SketchUp plugin.
You log in with the same account you use in the browser. If you don't have one yet, registration is free and doesn't require a card: you get 20 credits valid for 14 days. That's enough to test out model generation, with some left over for a few visualizations.
The plugin itself is a convenience, not a requirement - you can run all of Raya from a browser. With 3D models, though, that convenience is a real one, since the finished mesh lands in the scene with a single click. Direct insertion works in SketchUp from version 2025 onward, which is when the program started reading the GLB format natively.
Step 1: Upload a photo of the furniture
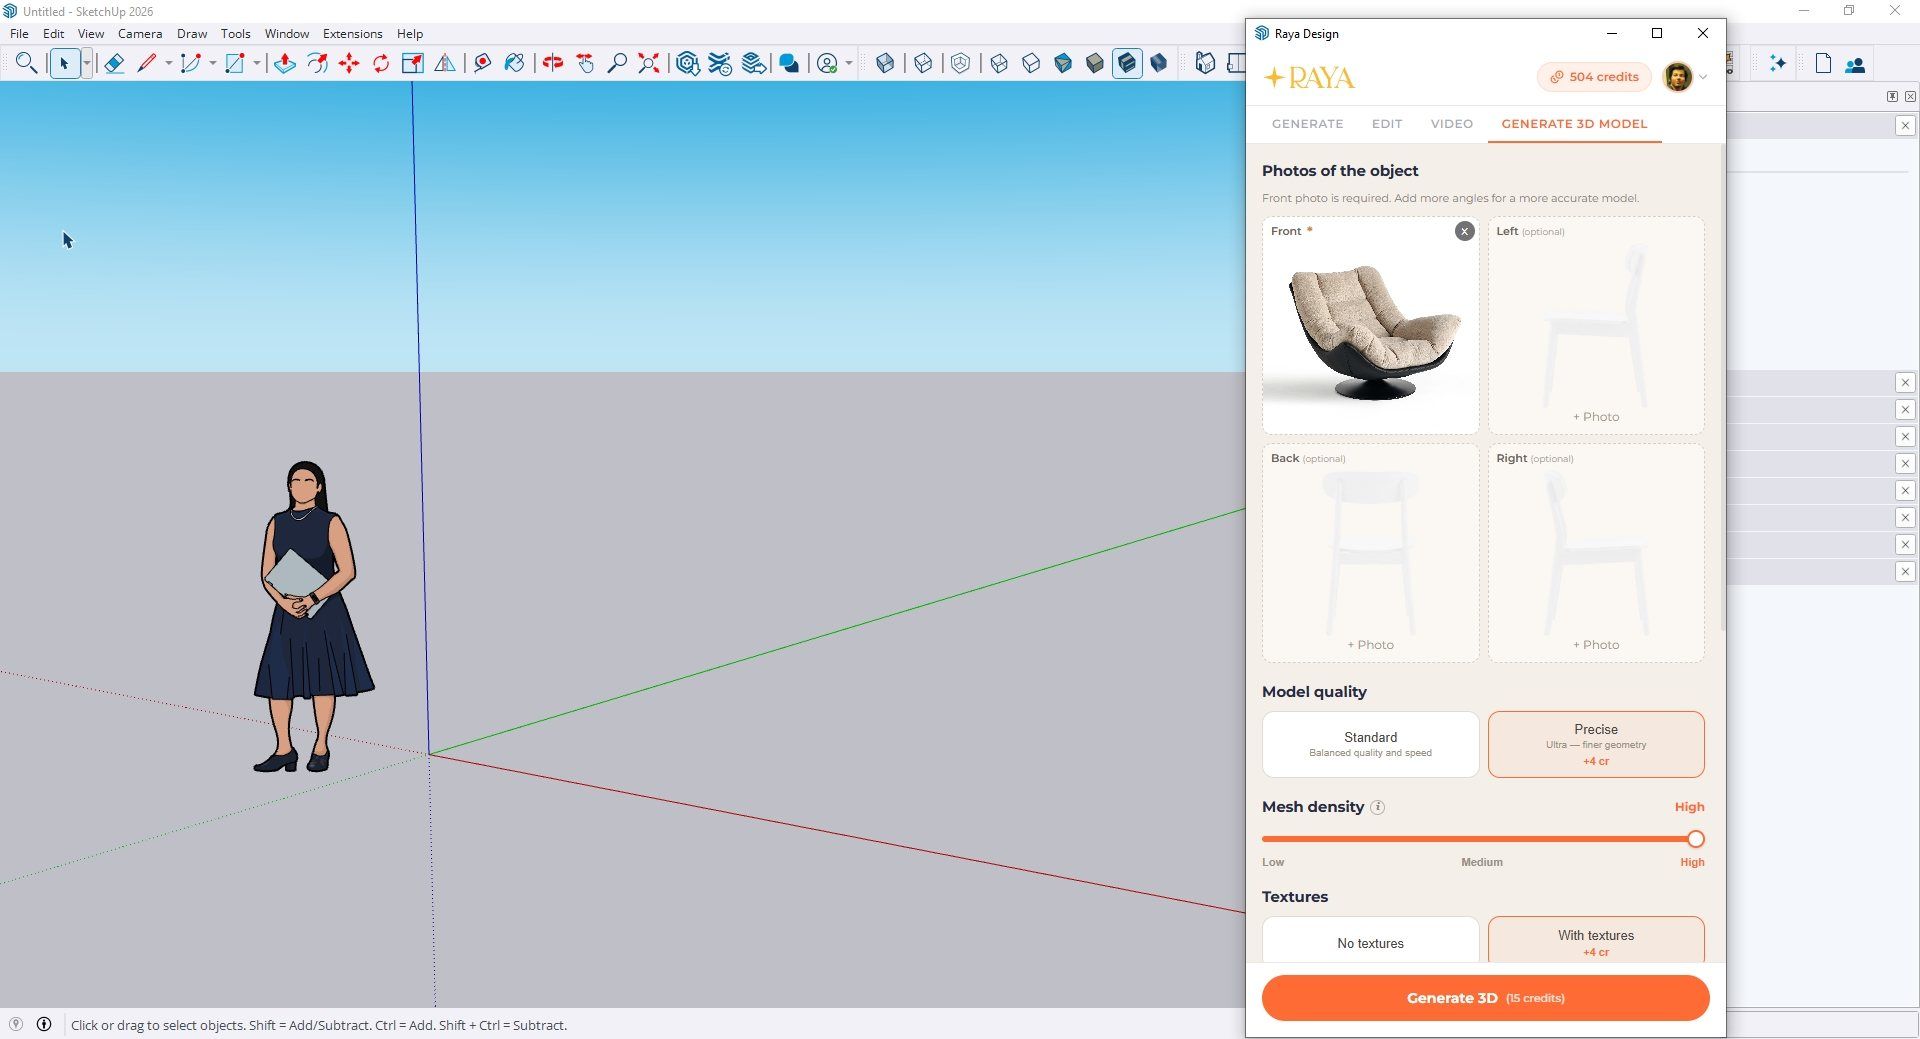
In the plugin panel you go to the "Generate 3D" tab and see four photo slots: Front is required, and Left, Back and Right are optional. In my test I uploaded one photo: a packshot of a swivel armchair on a black, round base, with beige upholstery, on a white background.
One photo is enough, but it's worth knowing what happens then. The model has to guess at the sides it can't see, and that's usually when it hallucinates geometry - the back can come out looking a bit approximate. With three or four shots, the mesh holds together properly, and the proportions come out realistic. If you have the piece of furniture on hand, you can take extra photos. It's the cheapest way to get a good result, since it doesn't cost a single credit.
The photo really determines everything else. What works best is a solid background that contrasts with the object, a flat, hard surface, even, soft light from a window or an LED panel (not spotlights), and the whole piece of furniture in frame, without cutting off the legs. An amateur shot from a warehouse will do too, but then don't expect miracles in the details.
Step 2: Settings, or what exactly you're paying credits for
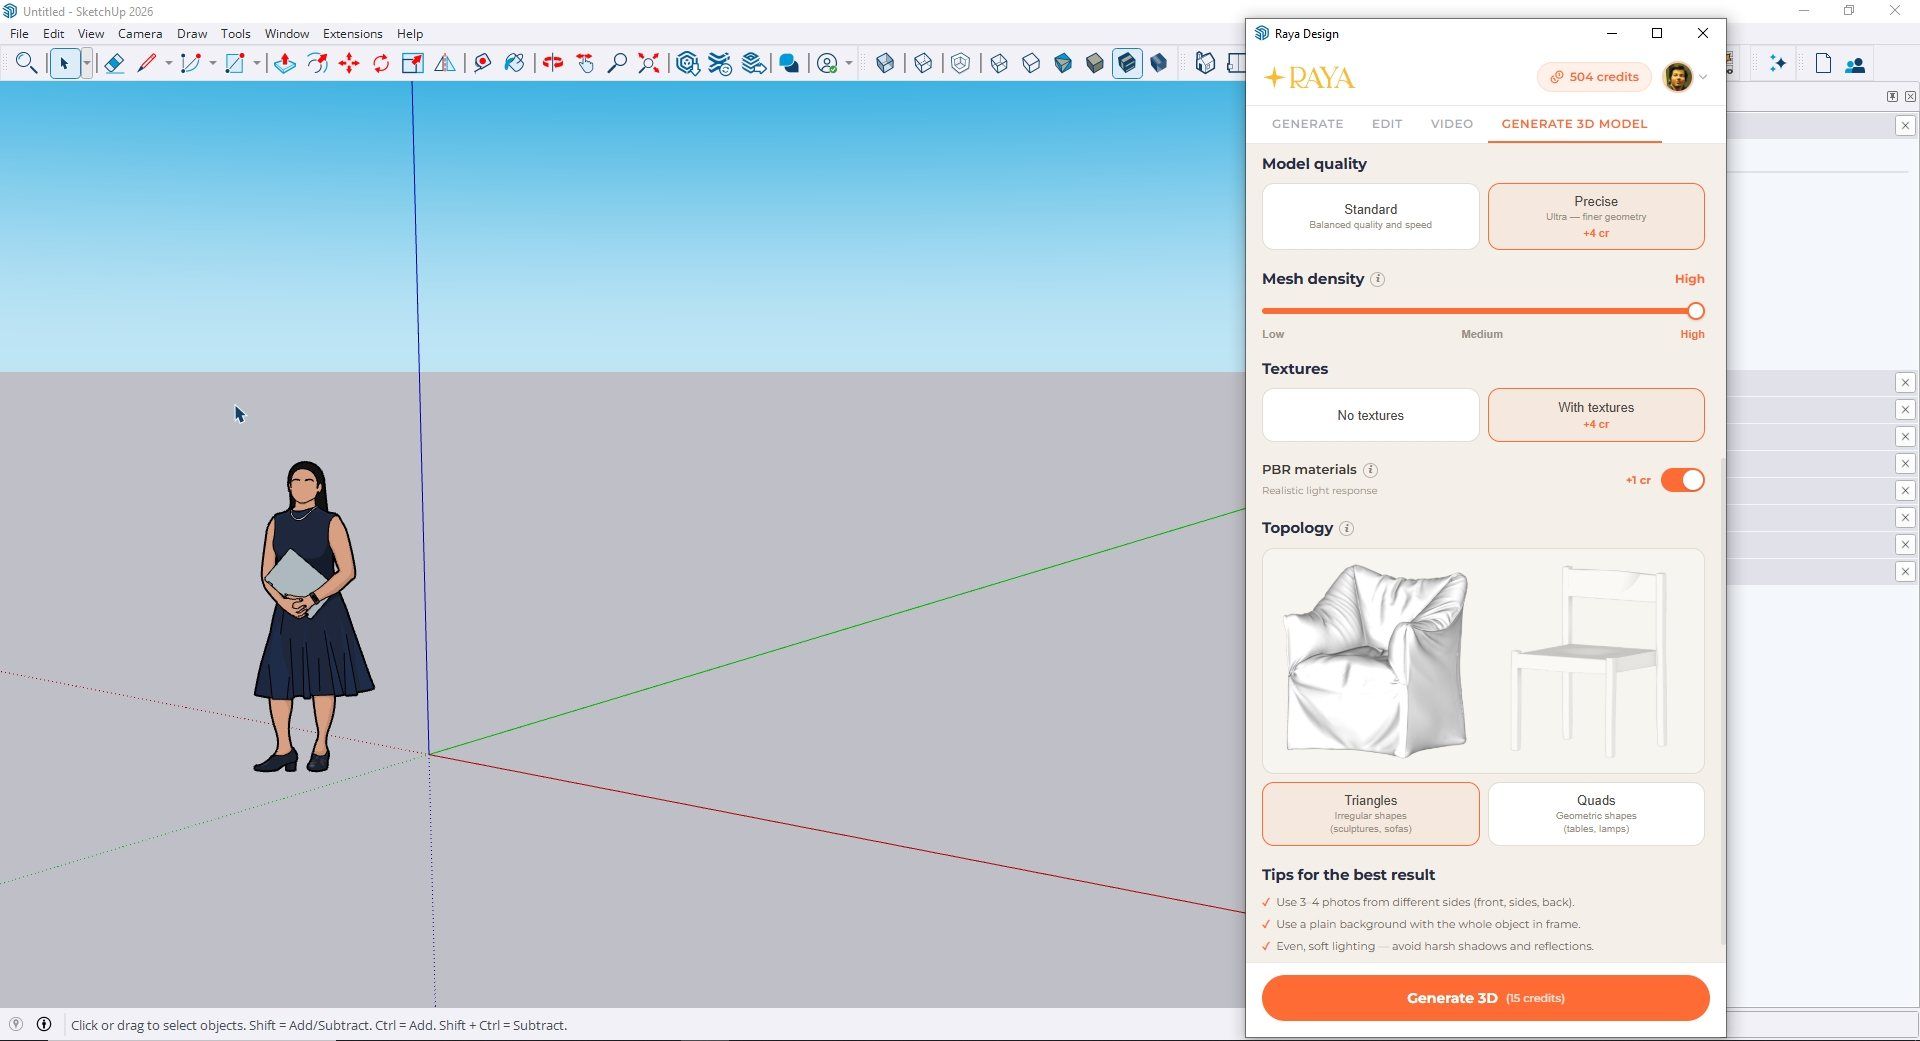
Now that the photo is in place, it's time for the settings - and these are what determine the cost of generation. Take a look at the screenshot of the plugin panel, because every surcharge is shown right next to each option.
Model quality: Standard is 6 credits, Precise costs +4 more and gives finer geometry - worth it for detailed objects.
Mesh density: Low is about 10k polygons and small decorative items, Medium about 50k and typical chairs or tables, High about 250k and larger objects with detail, like sofas or sculptures.
Textures: a surcharge of +4.
PBR materials: a surcharge of +1, meaning Roughness, Metallic and Normal maps that let the model react to light realistically in V-Ray or Corona.
Topology: Triangles for organic shapes and soft furniture, Quads for geometric objects, which are easier to edit further.
For my armchair I picked Precise quality, high mesh density, textures, PBR materials and Triangles topology. Soft, rippled upholstery is a textbook example of an organic form, and with a shape like that, quads would just distort unnecessarily. The button at the bottom tallied up 15 credits , and that's exactly what disappeared from my account after generation.
How much is that in dollars? On the Max plan, where a credit costs about $0.20, that comes to about $3 per model. You can go a lot lower: the model alone in Standard quality, without textures and without PBR maps, is 6 credits, which is only about $1! Raya's textures are generated, so they're more of an approximation anyway, and you'll often swap them for your own regardless. If you apply the material in SketchUp or in the renderer, you can safely save those credits.
Step 3: A minute of waiting and the model lands in the scene
You click "Generate 3D" and wait. For me, generation took about a minute. A preview of the finished model appears in the panel as a static image.
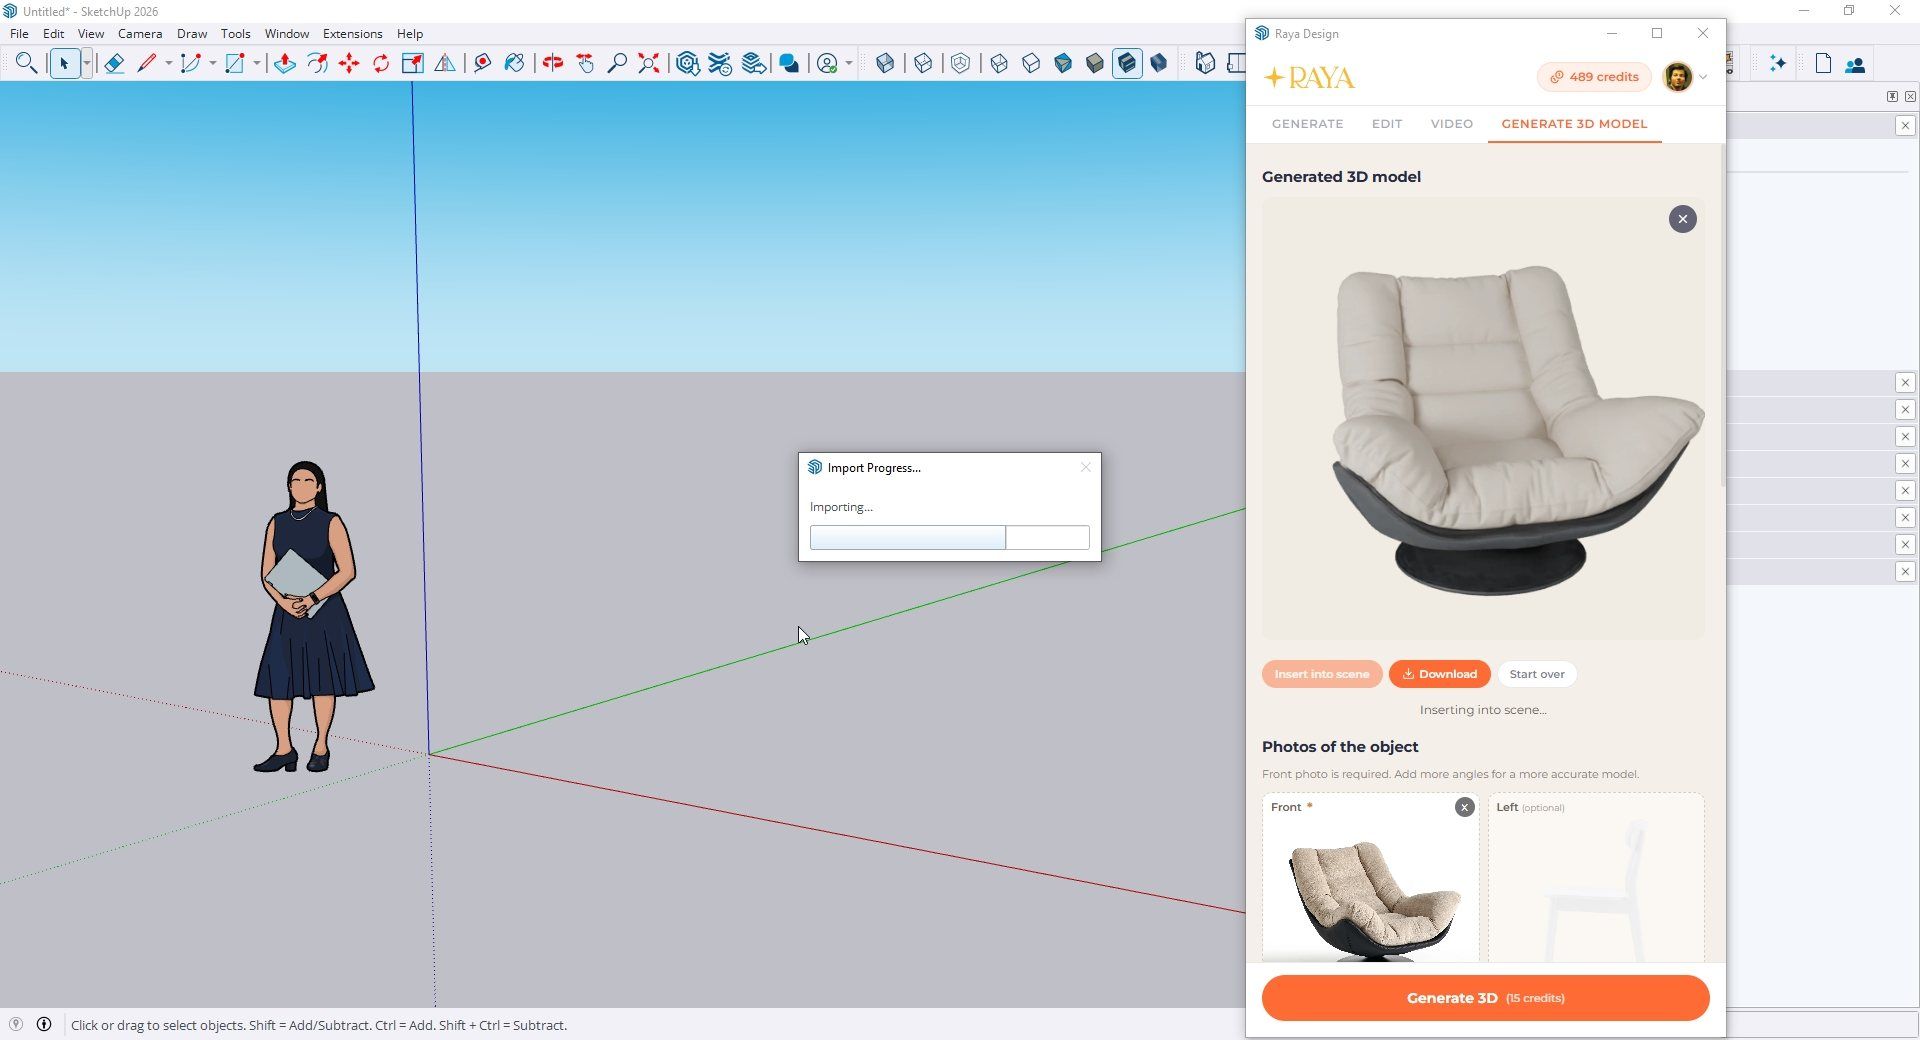
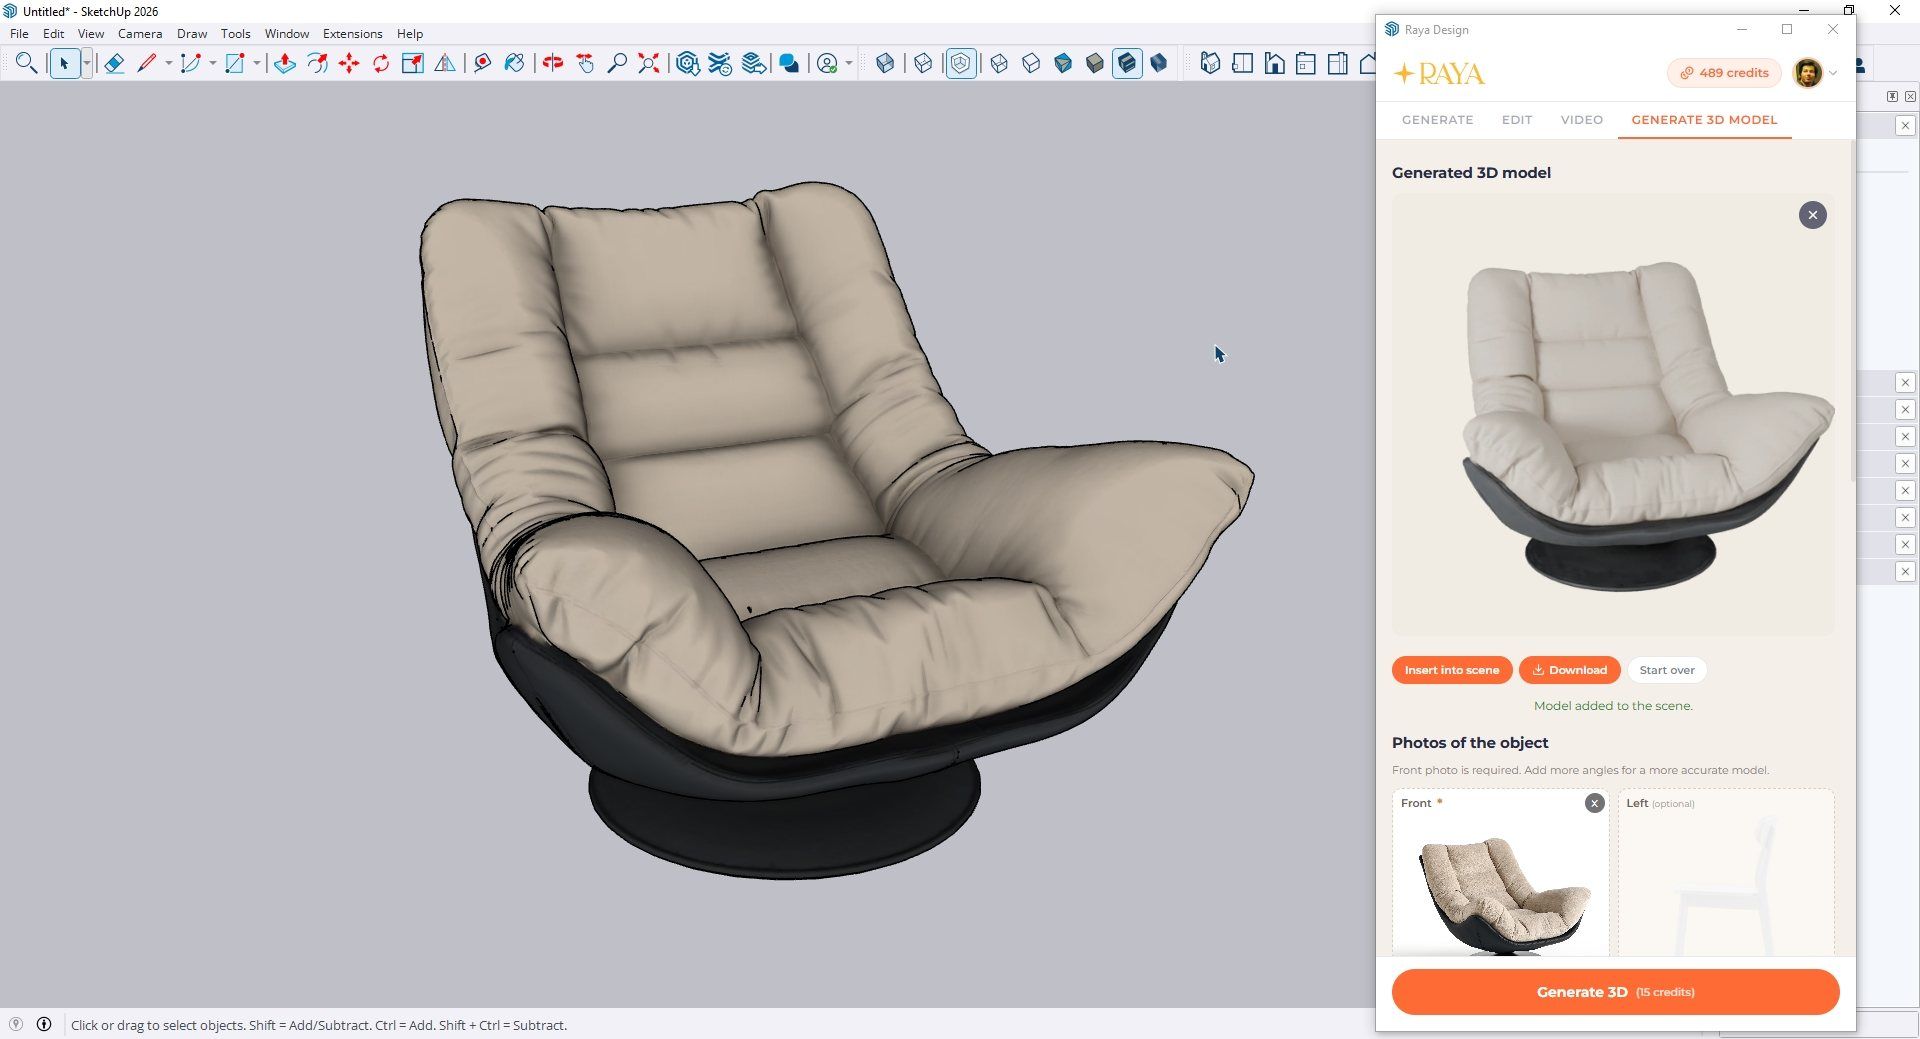
From here you have two options. The "Insert into scene" button drops the model straight into SketchUp - the import progress bar flies by in a few seconds and the armchair is sitting in your scene, with correctly mapped textures. Alternatively, you click "Download" and get the file as: FBX (universal, for 3ds Max, Maya, Blender, V-Ray and Corona), GLB or OBJ.
And that's pretty much it. A minute and one click instead of a whole evening spent on upholstery nobody's going to look at up close anyway.
What to do with the model next
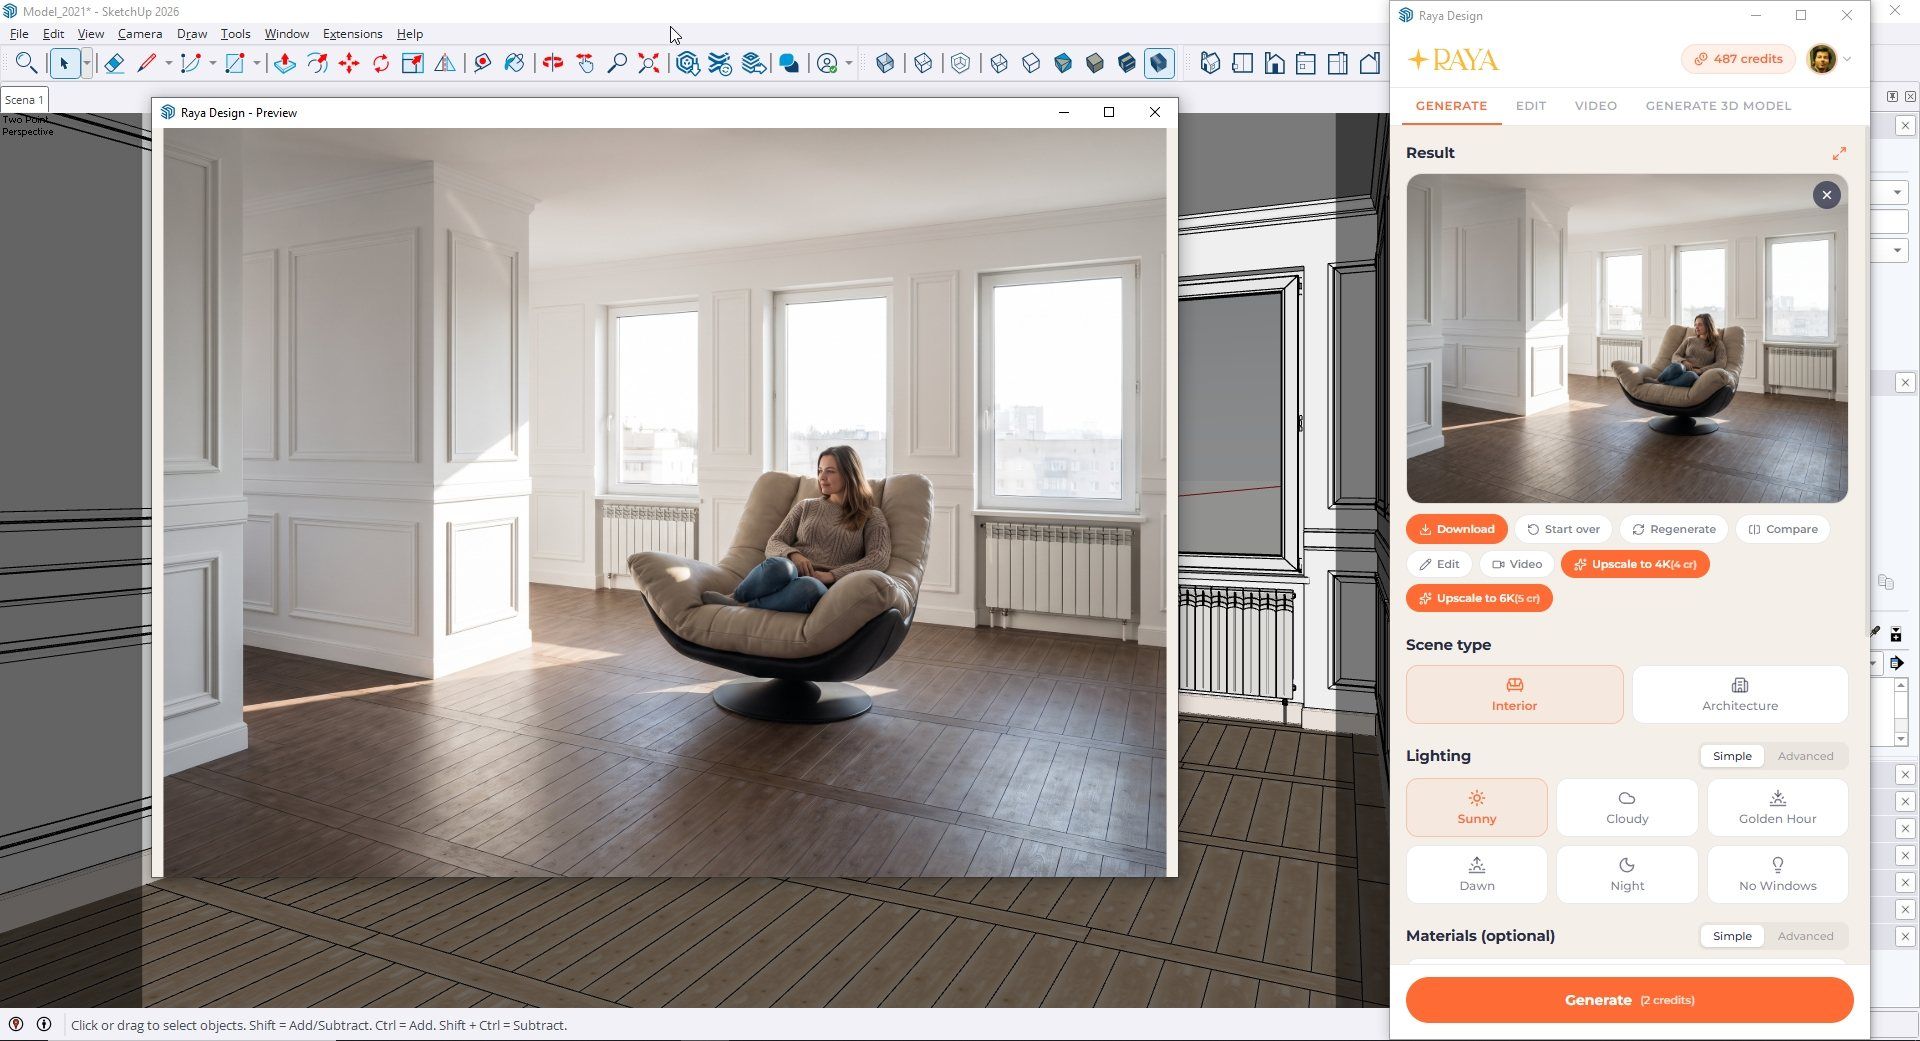
A model in the scene is only the beginning, because Raya doesn't stop at the mesh. You can place the armchair in an interior, set up the frame, and send the view off to generate a visualization right from the same panel - I covered this in more detail in the article about AI visualizations in SketchUp.
If you need a shot of just the piece of furniture, not the whole interior, you can render the uploaded model like a packshot in the "3D Model" tab. It's worth keeping the names straight here, since they're easy to mix up: "Generate 3D" builds a mesh from photos (photos in, model out), while "3D Model" renders the finished model like a product photo (model in, image out).
One plugin instead of three subscriptions
There's one more thing hardly anyone thinks about until they start counting the tools in their workflow. In the plugin panel you have four tabs: "Generate," "Edit," "Video," and "Generate 3D." Visualizations, fixes, animation, and 3D models all live in one place, in one program, running on the same credits. One subscription, one payment history, one invoice a month, instead of three separate services with three price lists.
You don't have to track usage rights separately either. Everything you generate is covered by a full commercial license - on every plan, including the free trial credits. You can sell the models and visualizations to clients, put them in your portfolio, and print them in catalogs. Your photos and renders never go toward training AI models, neither ours nor any third-party providers', which can matter a lot on projects covered by an NDA.
Generating models for SketchUp has never been this simple, and personally what I like most is that I've stopped putting off unusual furniture pieces "for later." If you've got that one armchair in a project that you can't find a model for, create a free Raya account and test it out from the start. 20 credits with no card required is enough for your first model, with some left over for a few visualizations of the same interior.


