
How to Generate 3D Models with AI from a Photo? Guide: Settings and Costs
To generate a 3d model from a photo, all you need is one good photo and the right generator. AI will take care of everything else. However, there are a few things worth keeping in mind while generating a model. You'll learn about all of them in this article.

Contents
- Which objects are suitable for generating 3D models with AI?
- Which tool should you choose to generate 3D models from photos?
- How much does generating 3D models cost?
- Glass and transparent materials, or where AI gets lost
- Which photos should you upload to get a good 3D model?
- The photo should only contain the object you want to generate
- When it's faster to model the object yourself
- Standard or precision quality? See what you're paying for
- Quads or triangles? Which topology to choose
- Where to start with generating 3D models from photos
In this guide, I'll show you examples of models created using the generator available on Raya.design. You can test it yourself with no strings attached. Create an account and get 20 credits to start.
Which objects are suitable for generating 3D models with AI?
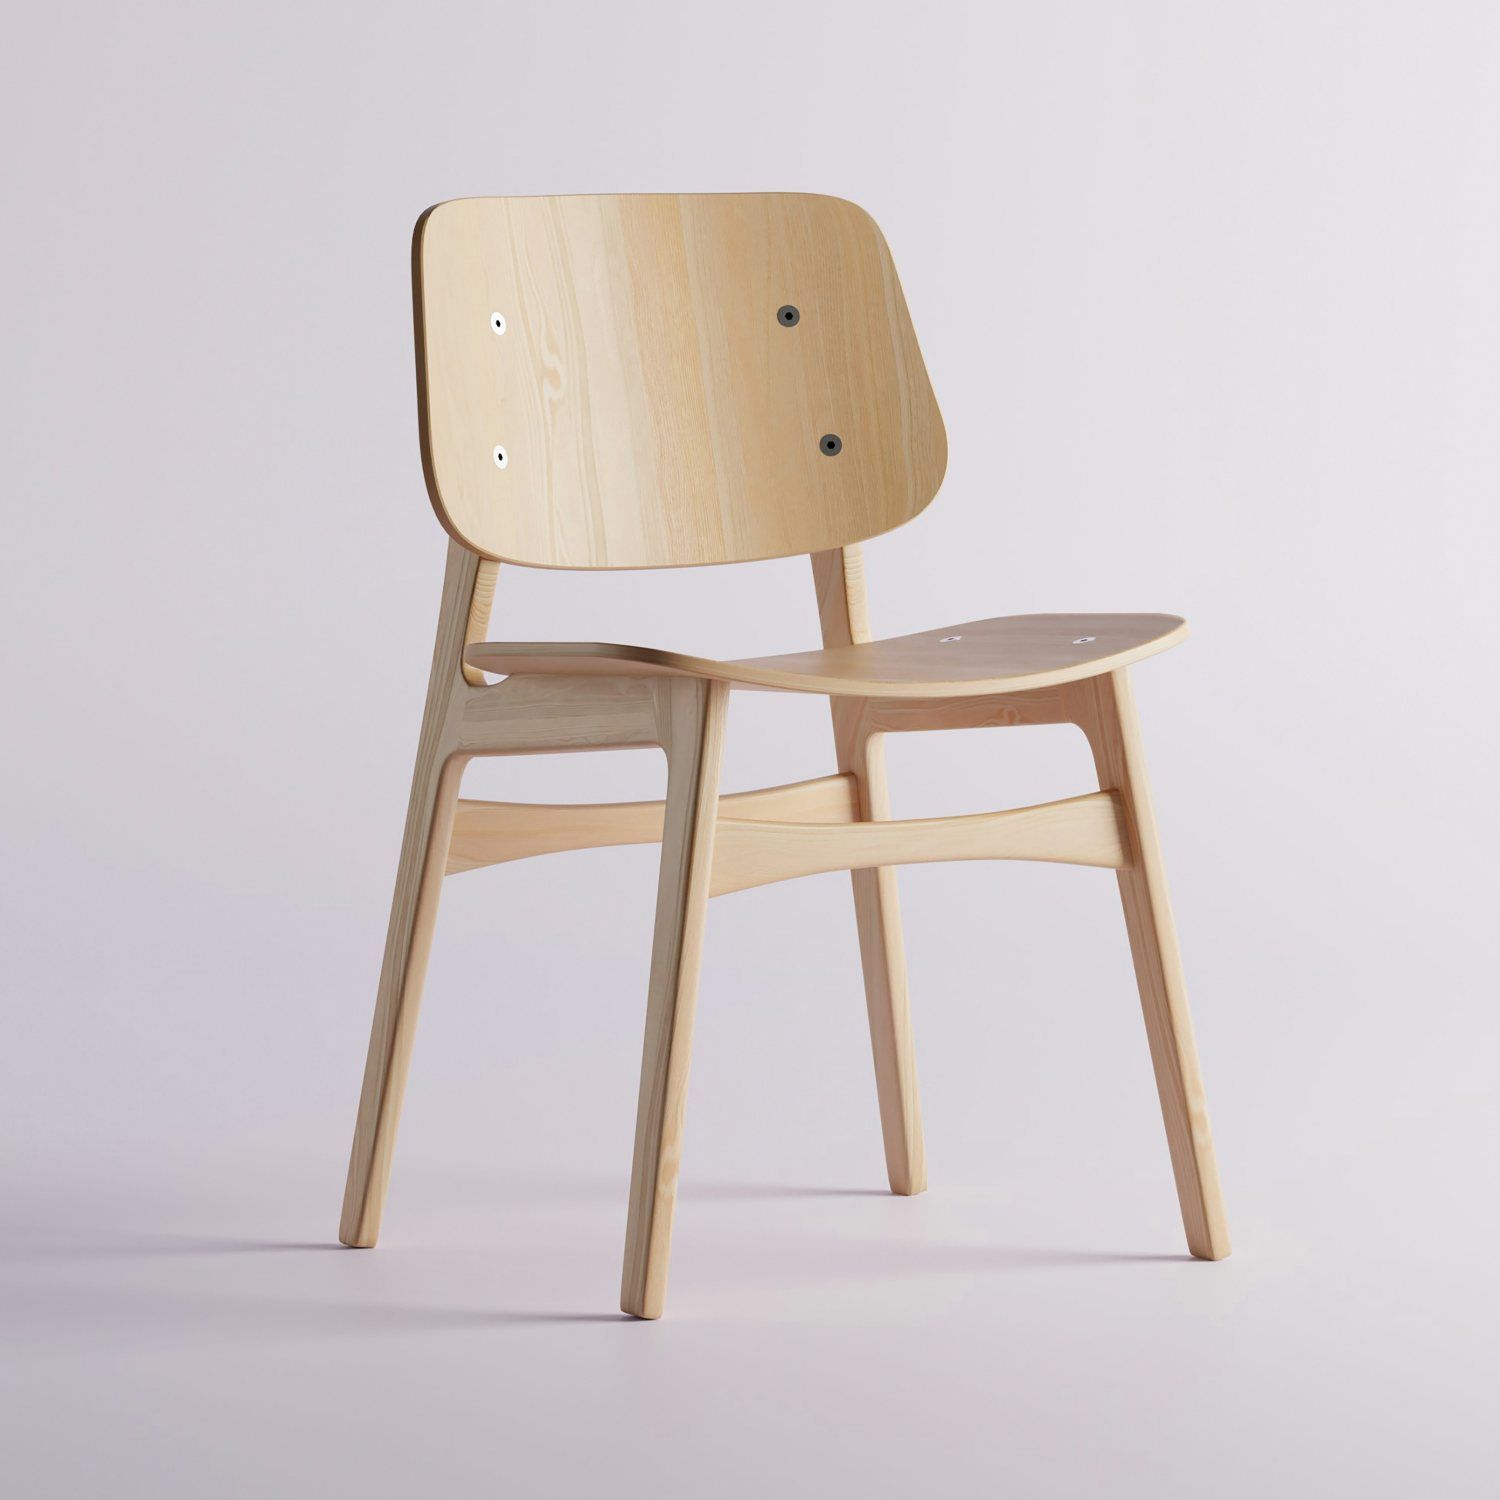
Since the generator works from a photo, it handles best whatever can be photographed in full and walked around. Such objects as: armchairs, chairs, tables, lamps, vases, sculptures, figurines and small decorations. Everything that's missing from libraries but needs to appear in a project and look convincing.
Interiors follow different logic. The generator recreates a solid viewed from the outside, while you view a room from the inside, so a photo of a bathroom will give you a distorted shell instead of an accurate model. Keep building walls in SketchUp or another 3D program, and use AI for the furnishings.
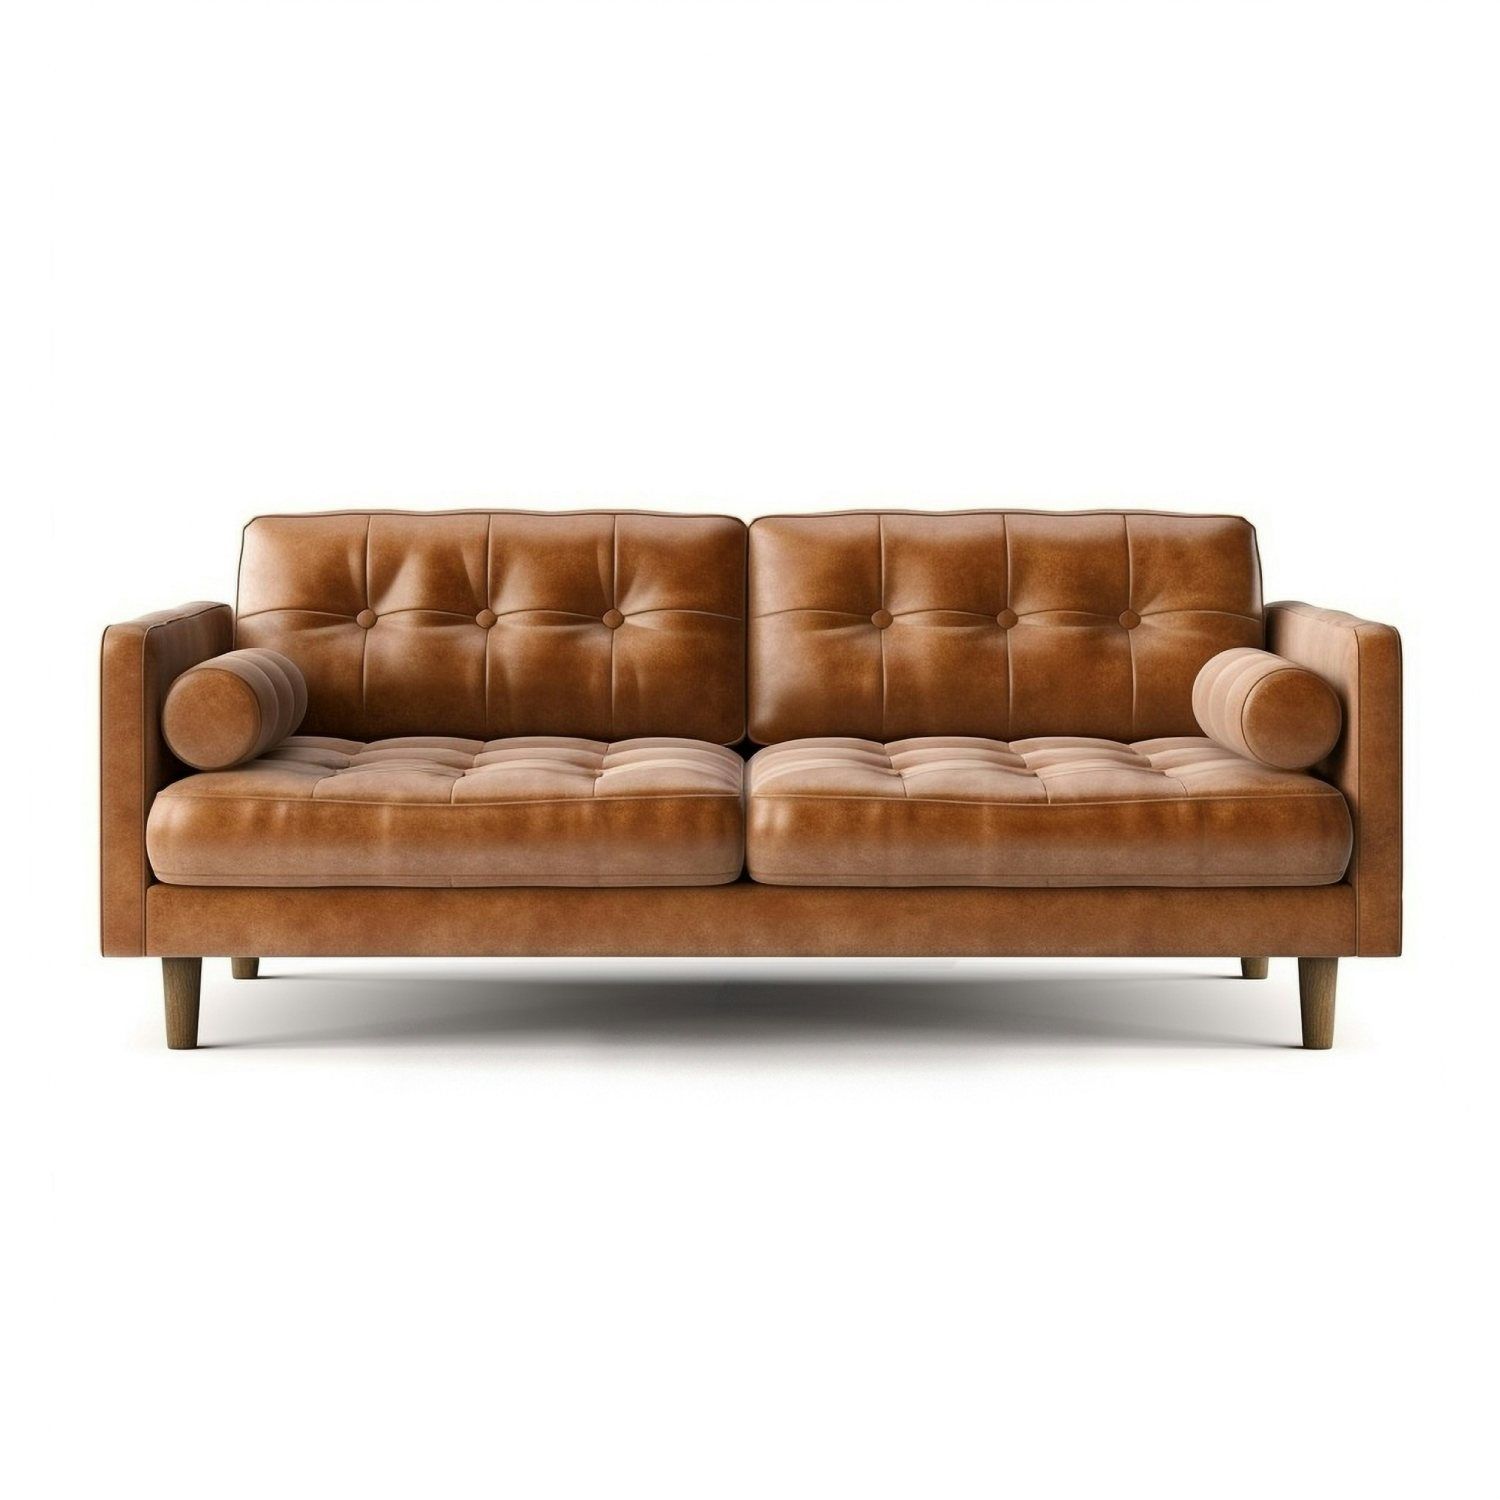 Good example
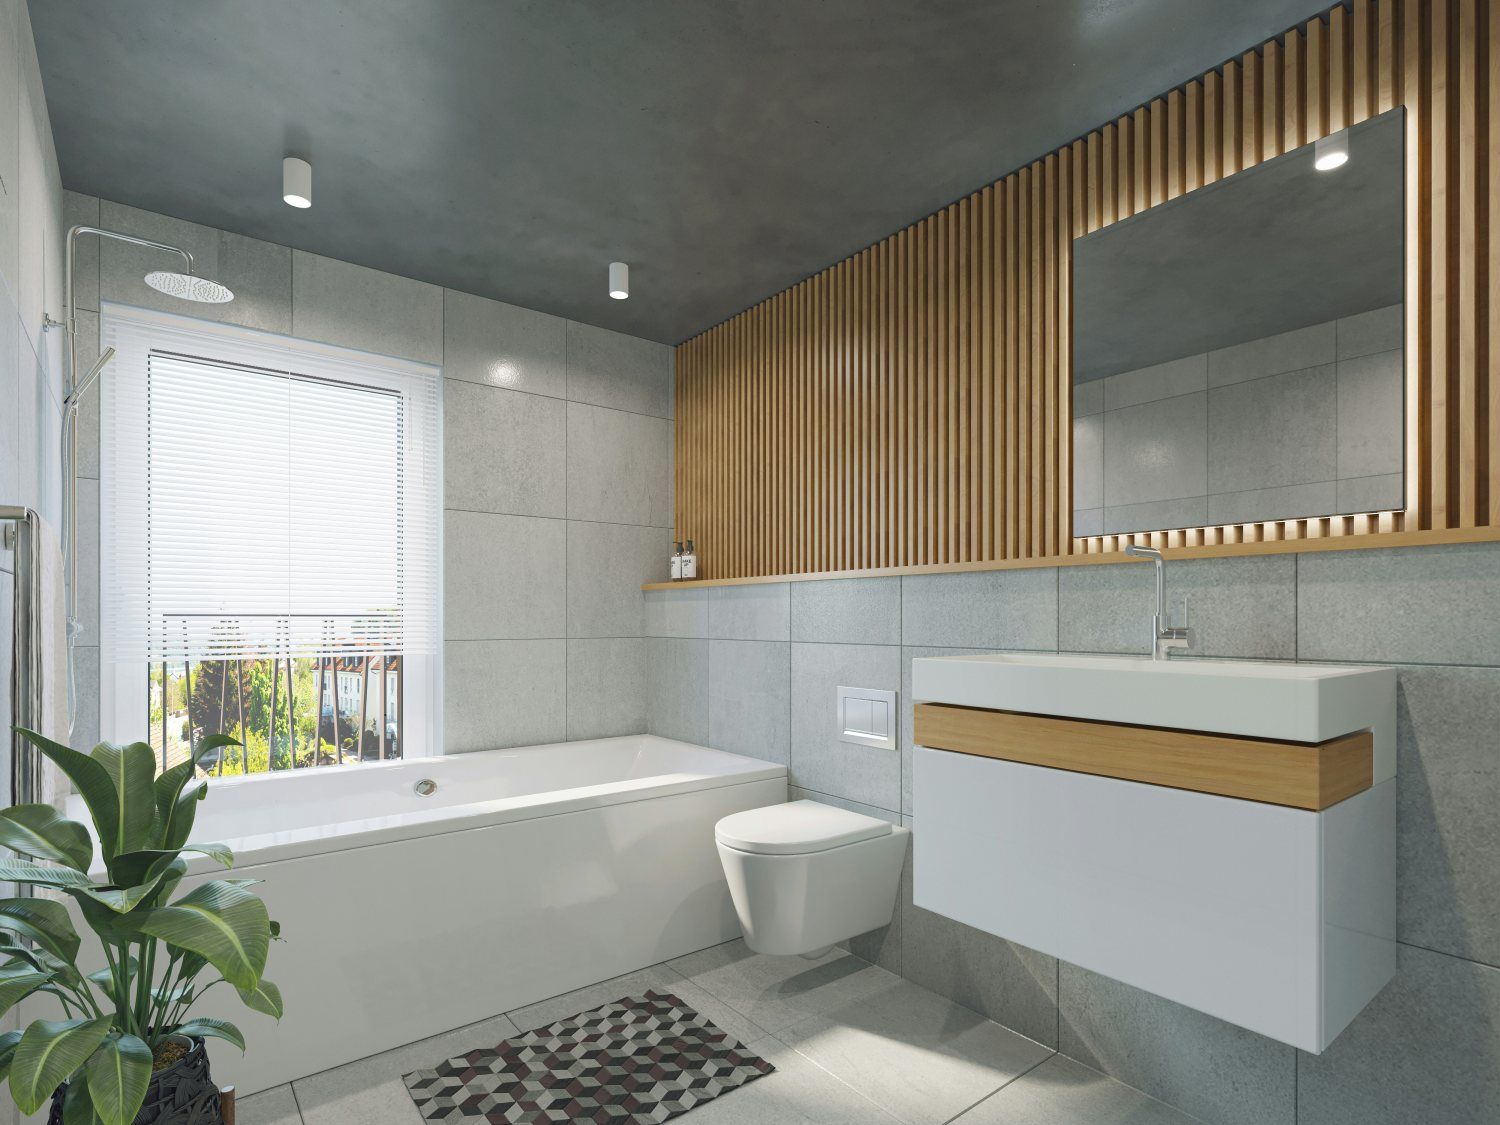 Bad example
Which tool should you choose to generate 3D models from photos?
Now that you know what's worth generating, the question of tool remains. We, of course, recommend the 3D model generator in Raya - it works in the browser, doesn't require a powerful graphics card, and doesn't make you install anything, because the calculations run on our servers.
There's also a second route, more convenient if you work in SketchUp. The free Raya plugin brings the entire "Generate 3D" tab inside the program: you upload photos in the panel, wait about a minute, and click "Insert into scene". The model lands in your project instantly, without exporting, downloading a file, or manual import. Direct insertion works in SketchUp starting from version 2025, since only this version natively reads the GLB format.
The account is shared between the browser and the plugin, so you have one pool of credits, and your generation history collects in one place. We broke down the entire process in the plugin step by step in an article about how to create a 3D model from a photo in SketchUp.
How much does generating 3D models cost?
Now that you've picked a tool, it's worth calculating what a single model really costs. In Raya you pay with credits, and the rate depends on how precise a model you order - from 6 credits for the basic version to 15 credits for the full package.
Option | Cost in credits | Approximately in USD |
|---|---|---|
Model in Standard quality | 6 credits | approx. $1.20 |
Precision quality (surcharge) | +4 credits | approx. $0.80 |
Textures (surcharge) | +4 credits | approx. $0.80 |
PBR materials (surcharge) | +1 credit | approx. $0.20 |
Full package: Precision, textures and PBR materials | 15 credits | approx. $3 |
The dollar amounts are approximate, because the price per credit drops as the plan gets bigger - the calculation above assumes the lowest rate, about $0.20 per credit in the Max plan. The plans themselves start at Raya's pricing page at $5.99 a month, and credits accumulate, so unused ones don't disappear at the end of the month.
Before you buy anything, try the generator for free. A new account gets 20 credits without providing a card, which is enough for three models in Standard quality or one full package with some to spare. Credits are also automatically refunded if a generation fails due to a technical error - you only pay for the result you actually get.
Glass and transparent materials, or where AI gets lost
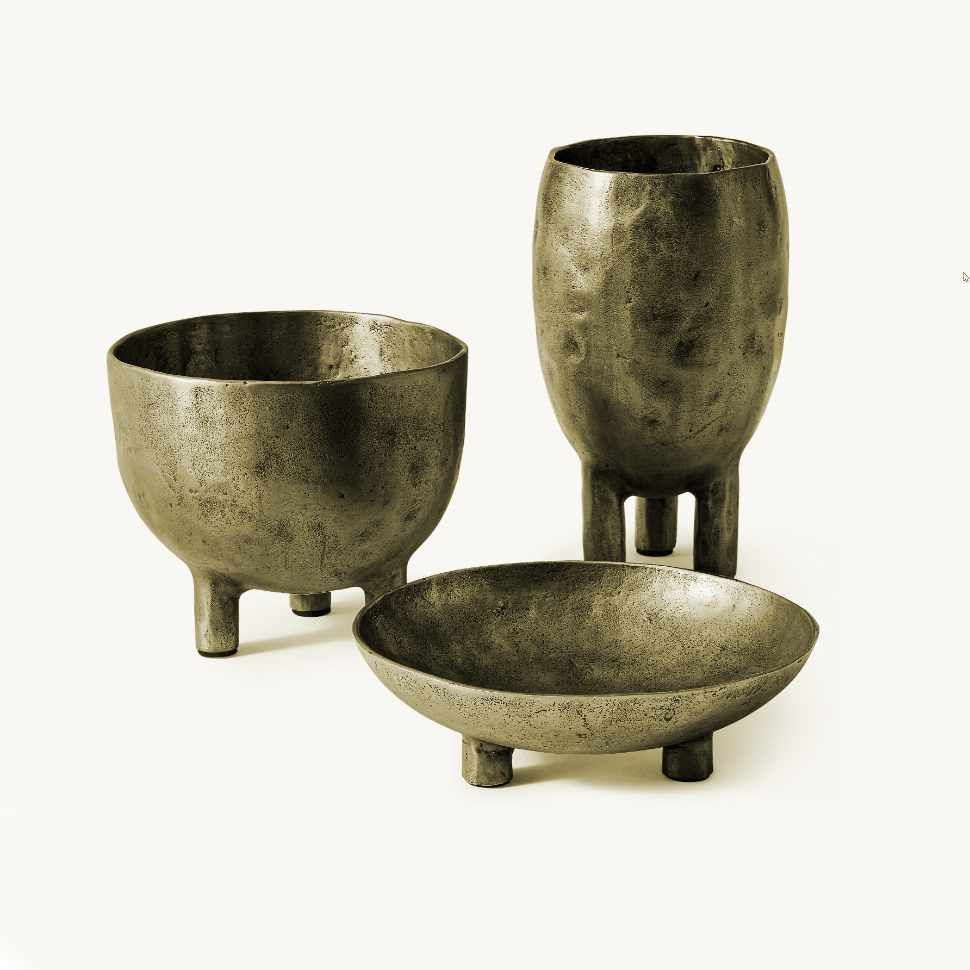
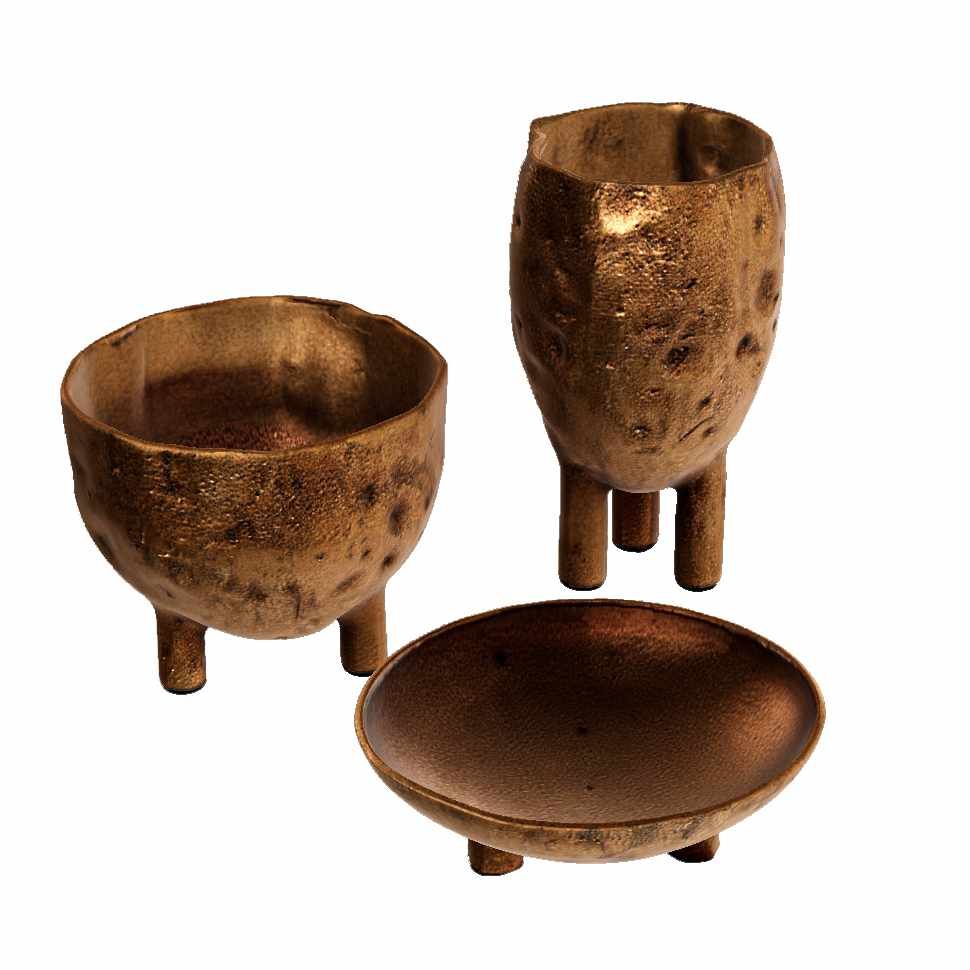
Furniture and decorations are one thing, material is another. With glass objects, AI does well as long as they're simple and single-layered: a glass vase or carafe will turn out convincingly. The trouble starts with a glass lamp that has several translucent shades and visible bulbs, because the algorithm can't figure out where one layer ends and the next begins.
The most reliable results come from objects that don't let light through. With glass, give the generator one extra generation attempt, and for multi-layered light fixtures consider modeling by hand.
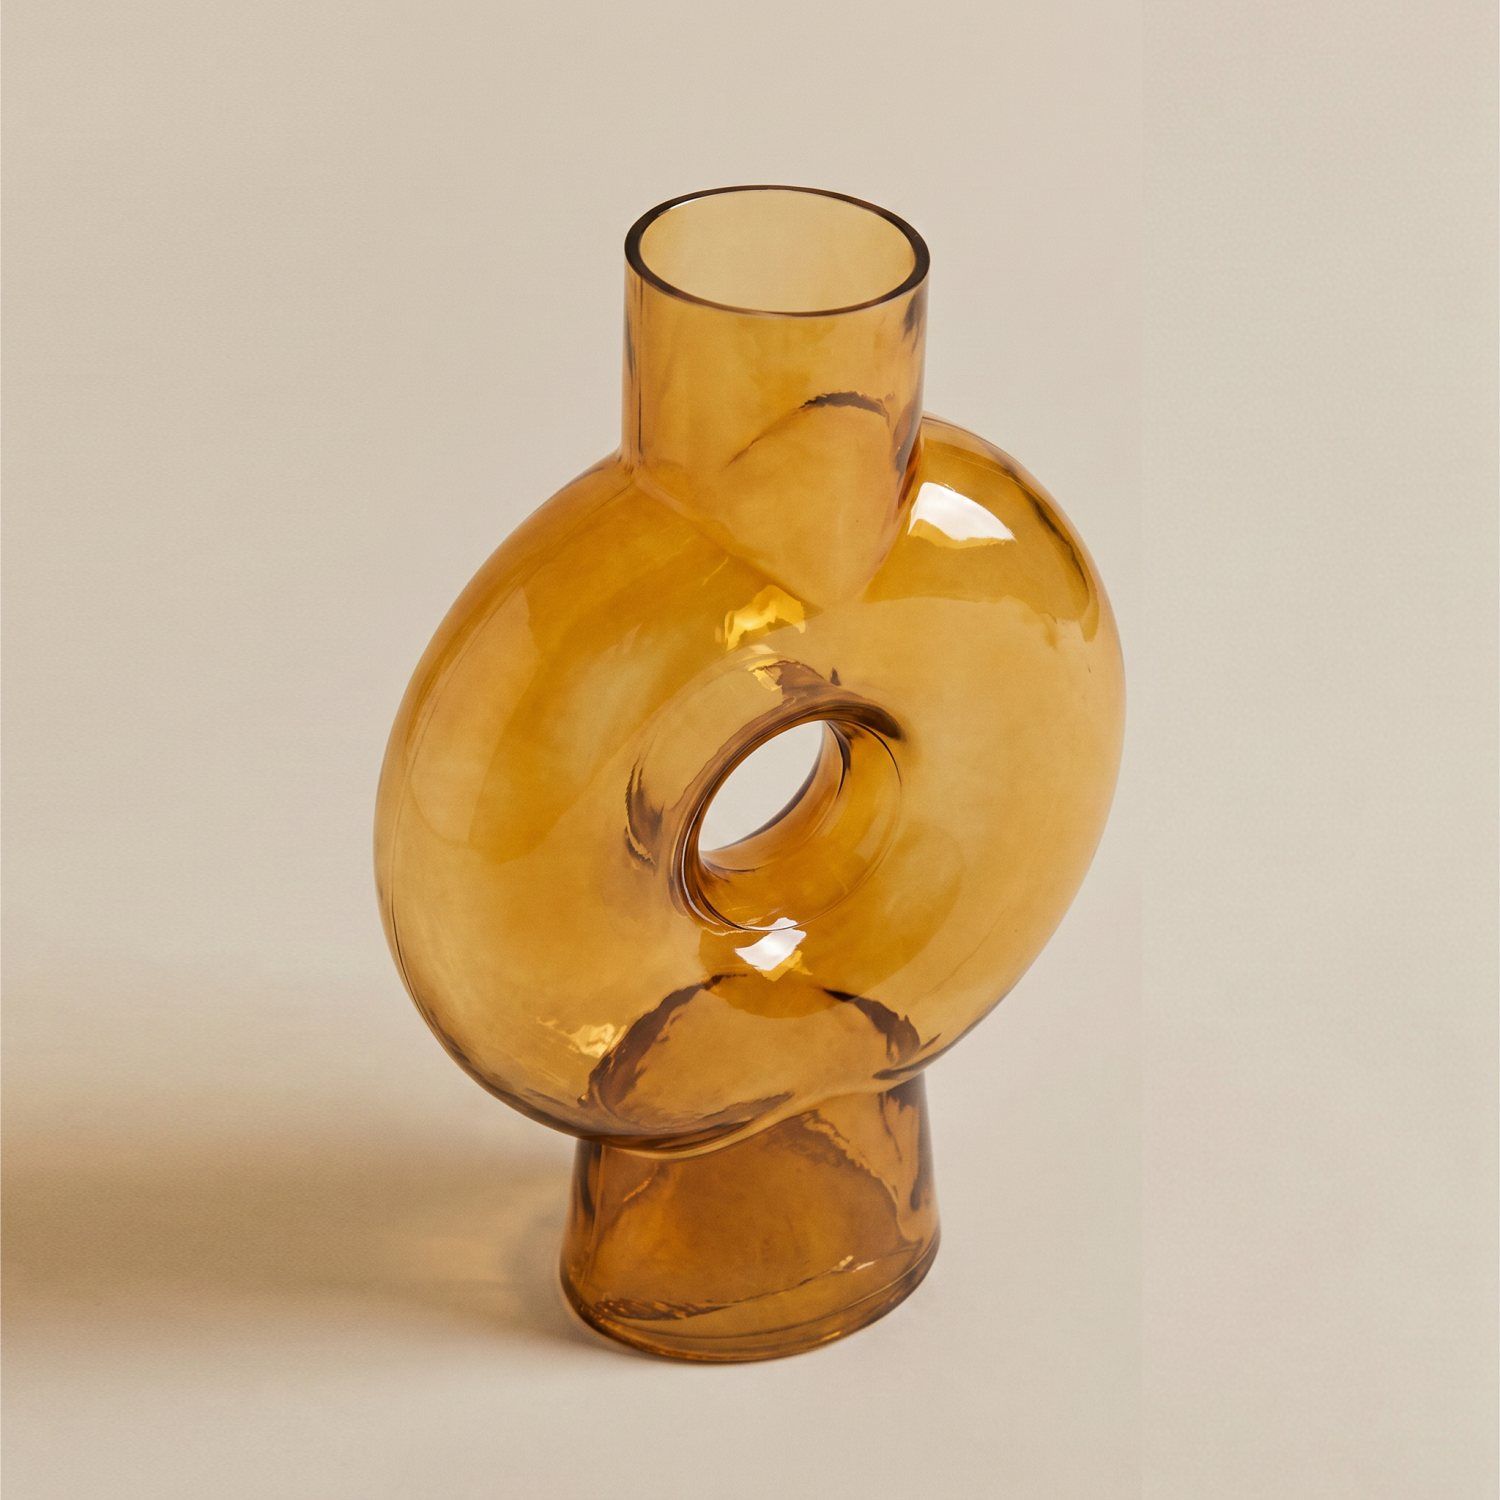 Good example
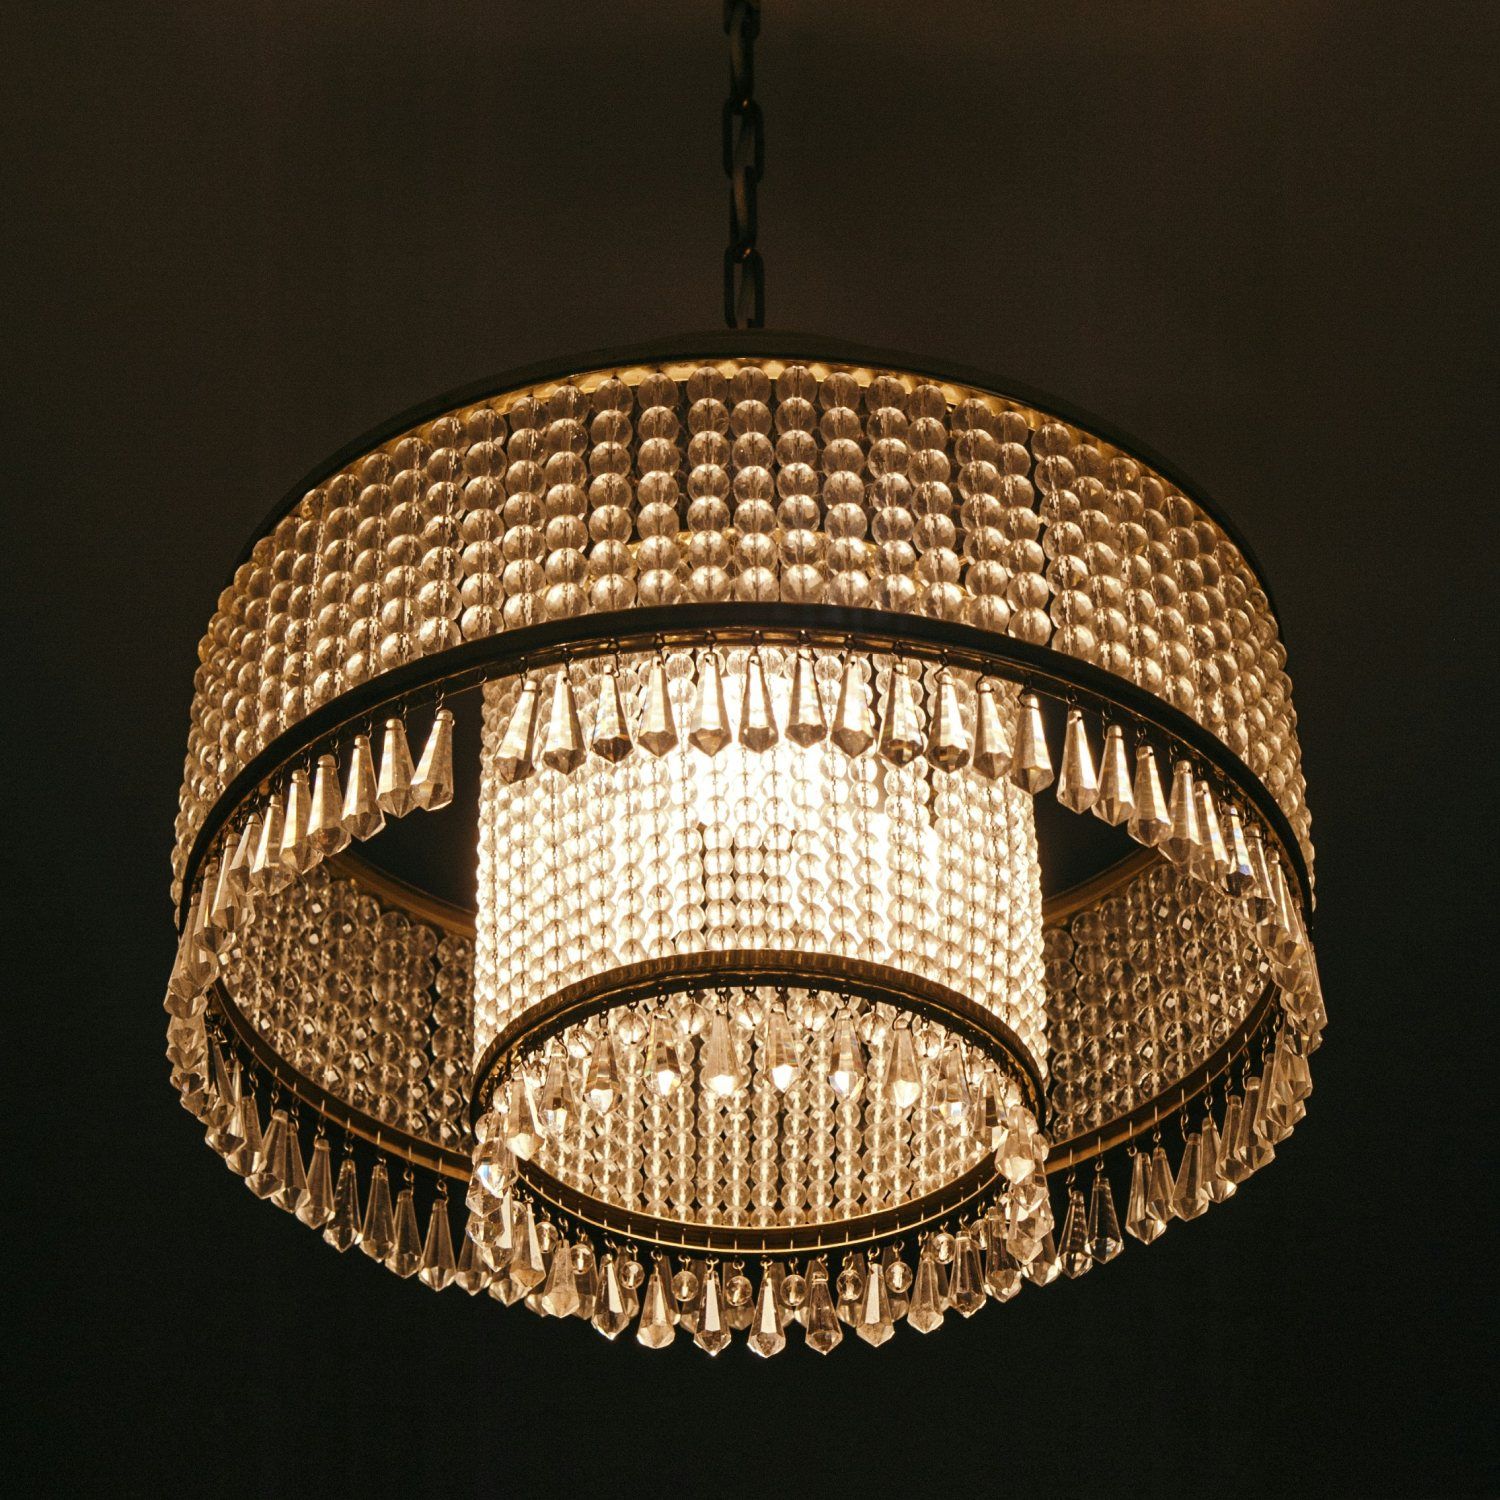 Bad example
Which photos should you upload to get a good 3D model?
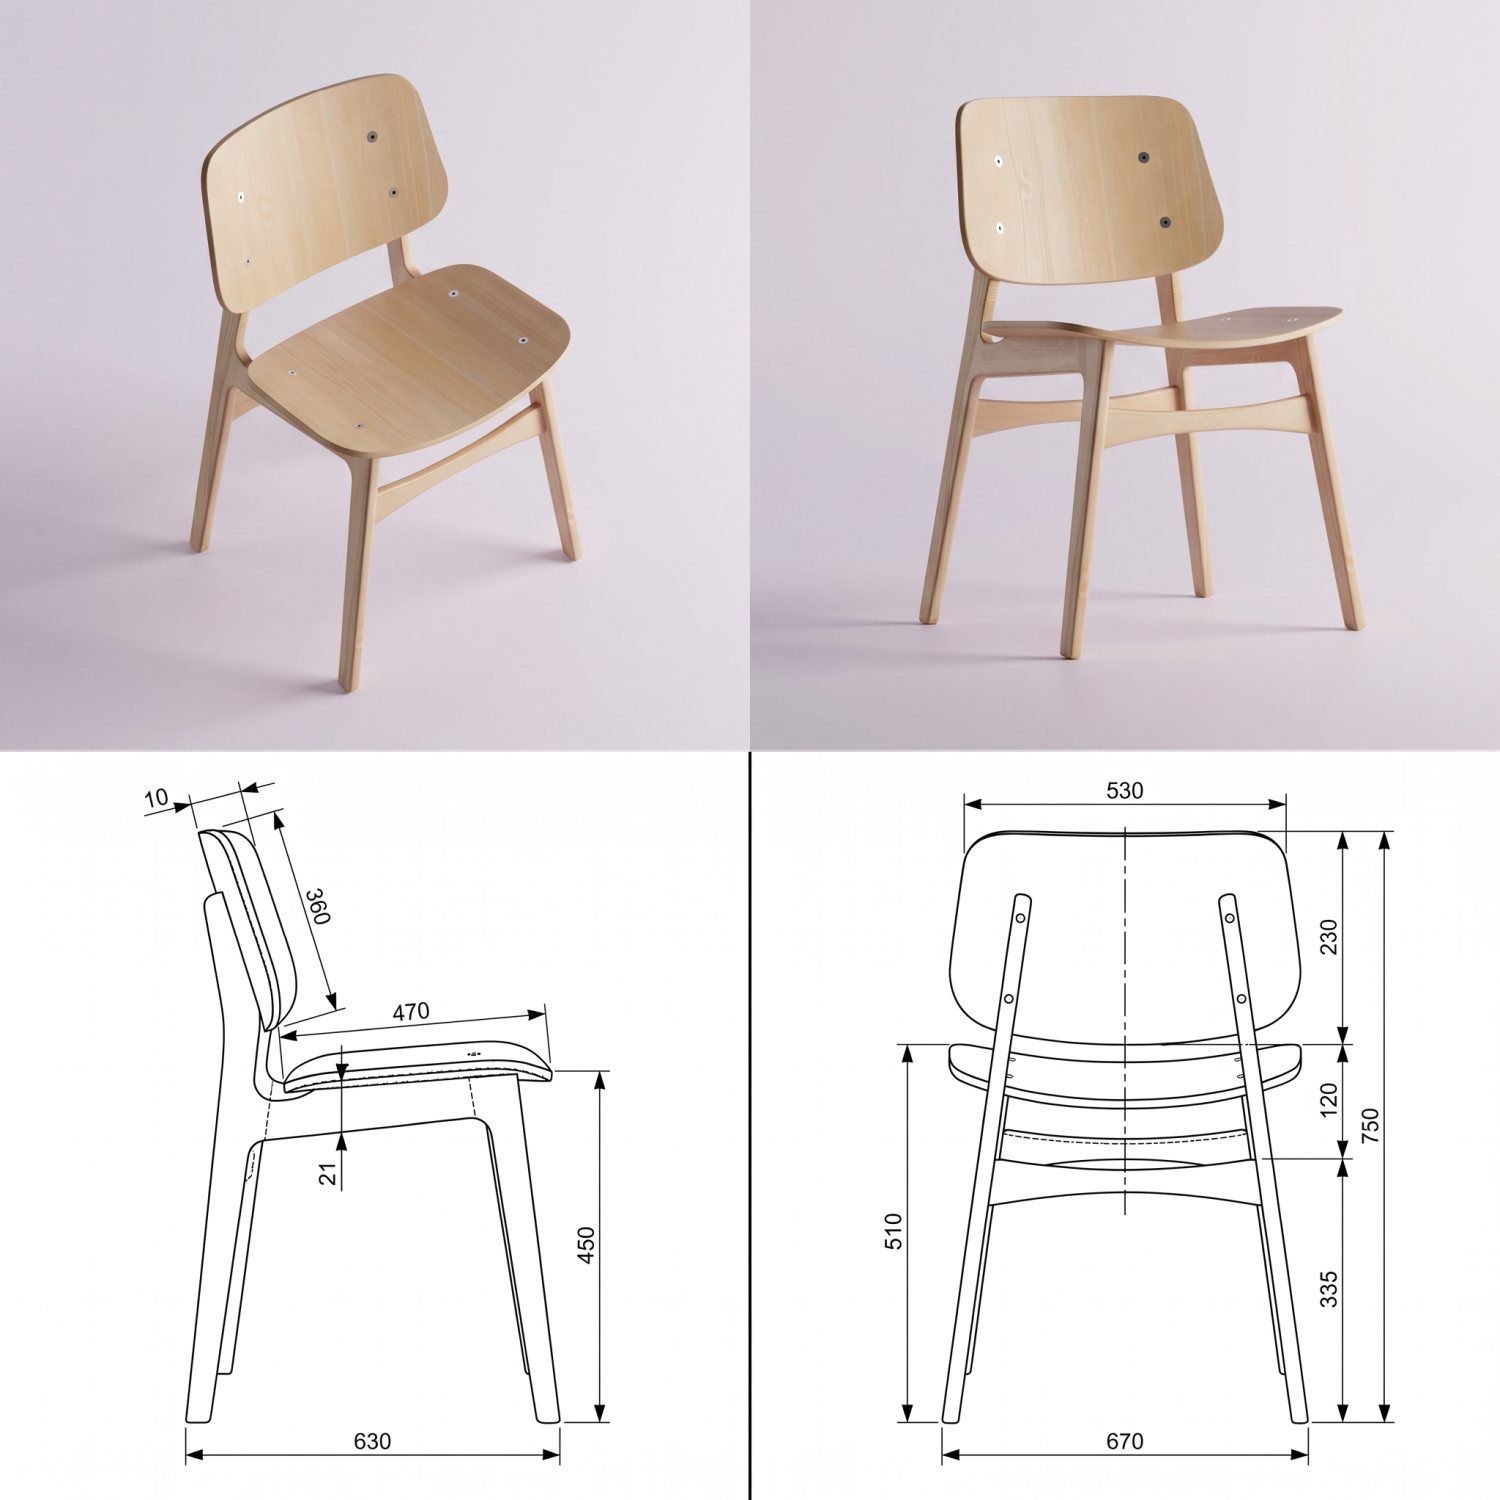
You've already chosen your object, so now it's time for the input material. A set of four photos works best: from the front, left side, right side, and back. In Raya, you have four fields for them in the "Generate 3D" tab, of which only Front is required.
There's one condition, and watch it more closely than photo quality. Each photo must be taken exactly from the side you declare. If you upload a shot taken at a 45-degree angle into the Left field, the generator gets conflicting information about proportions and the model comes out distorted.
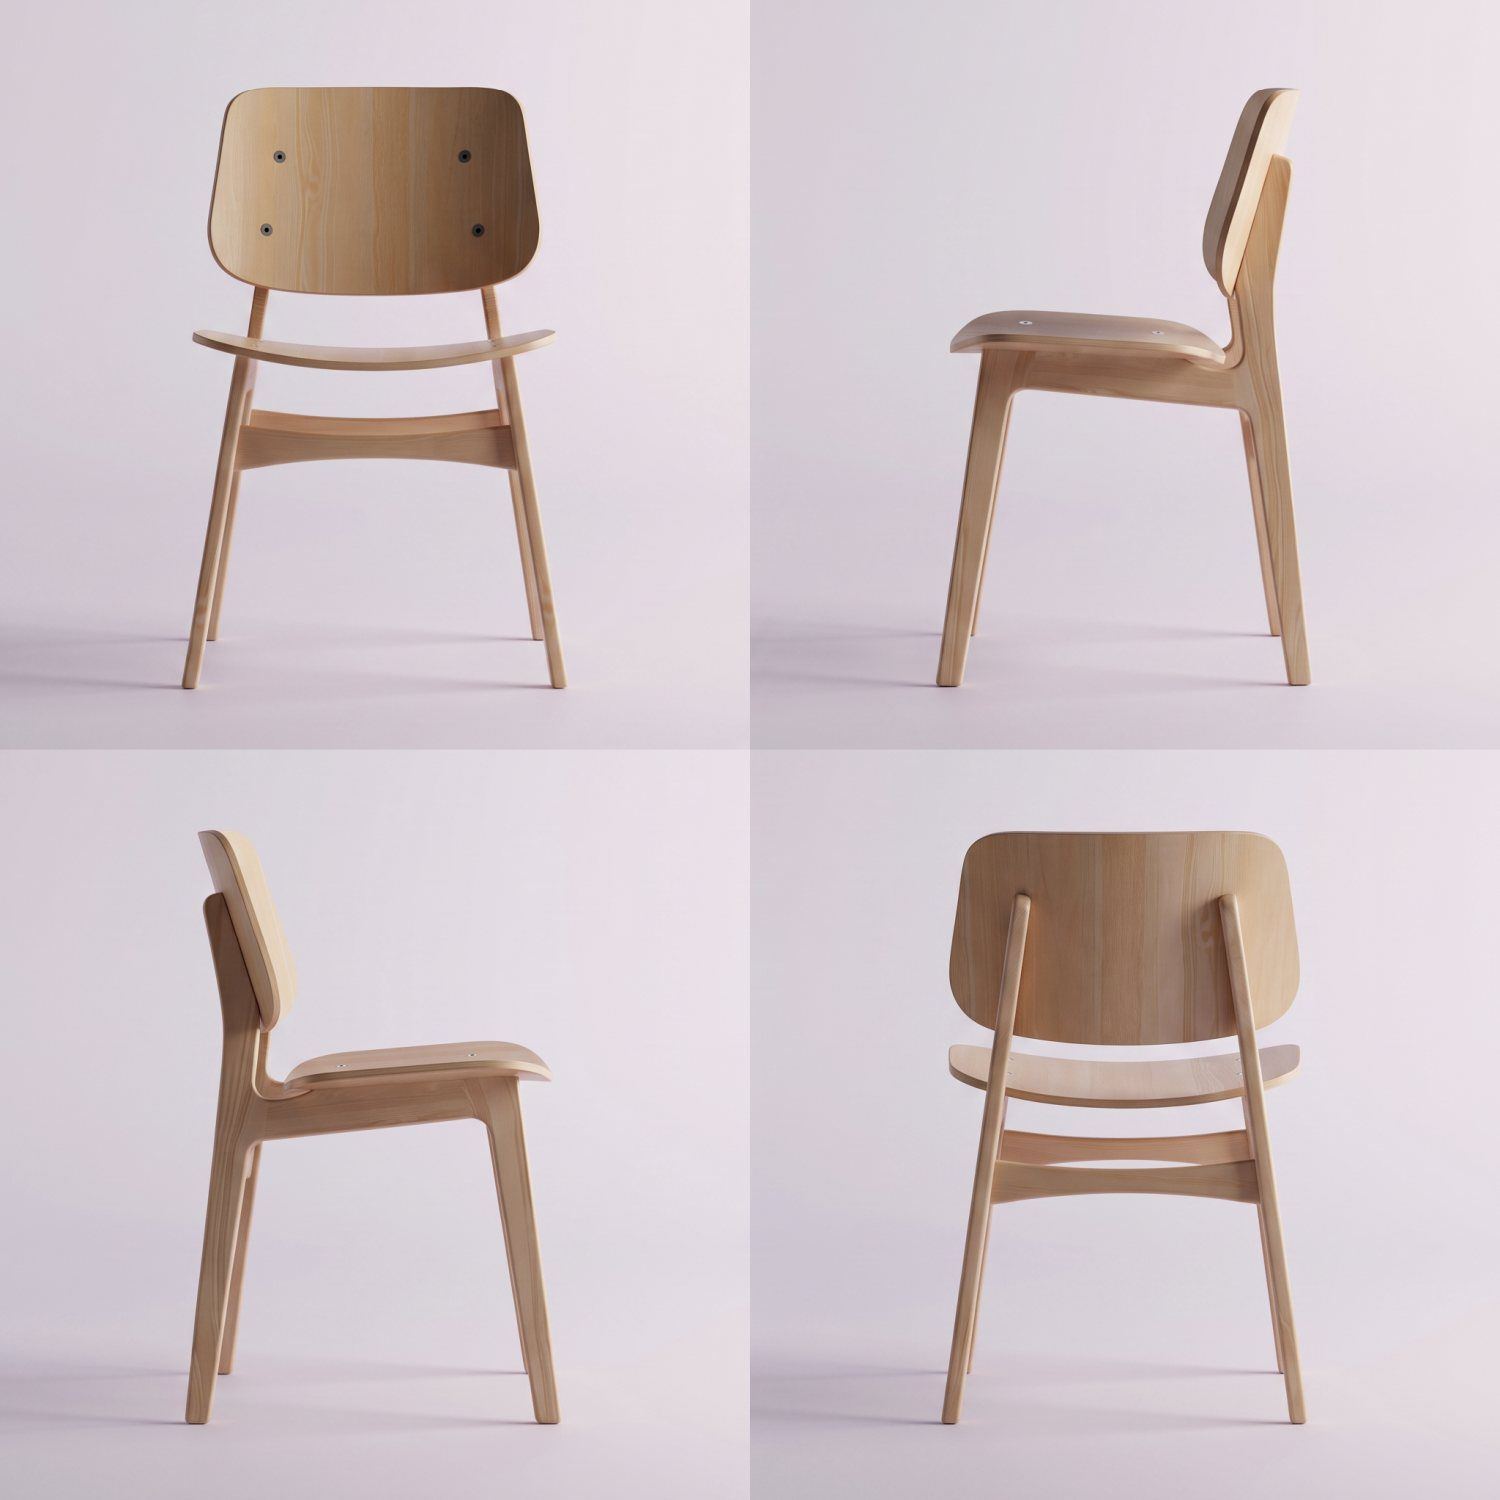 Good example
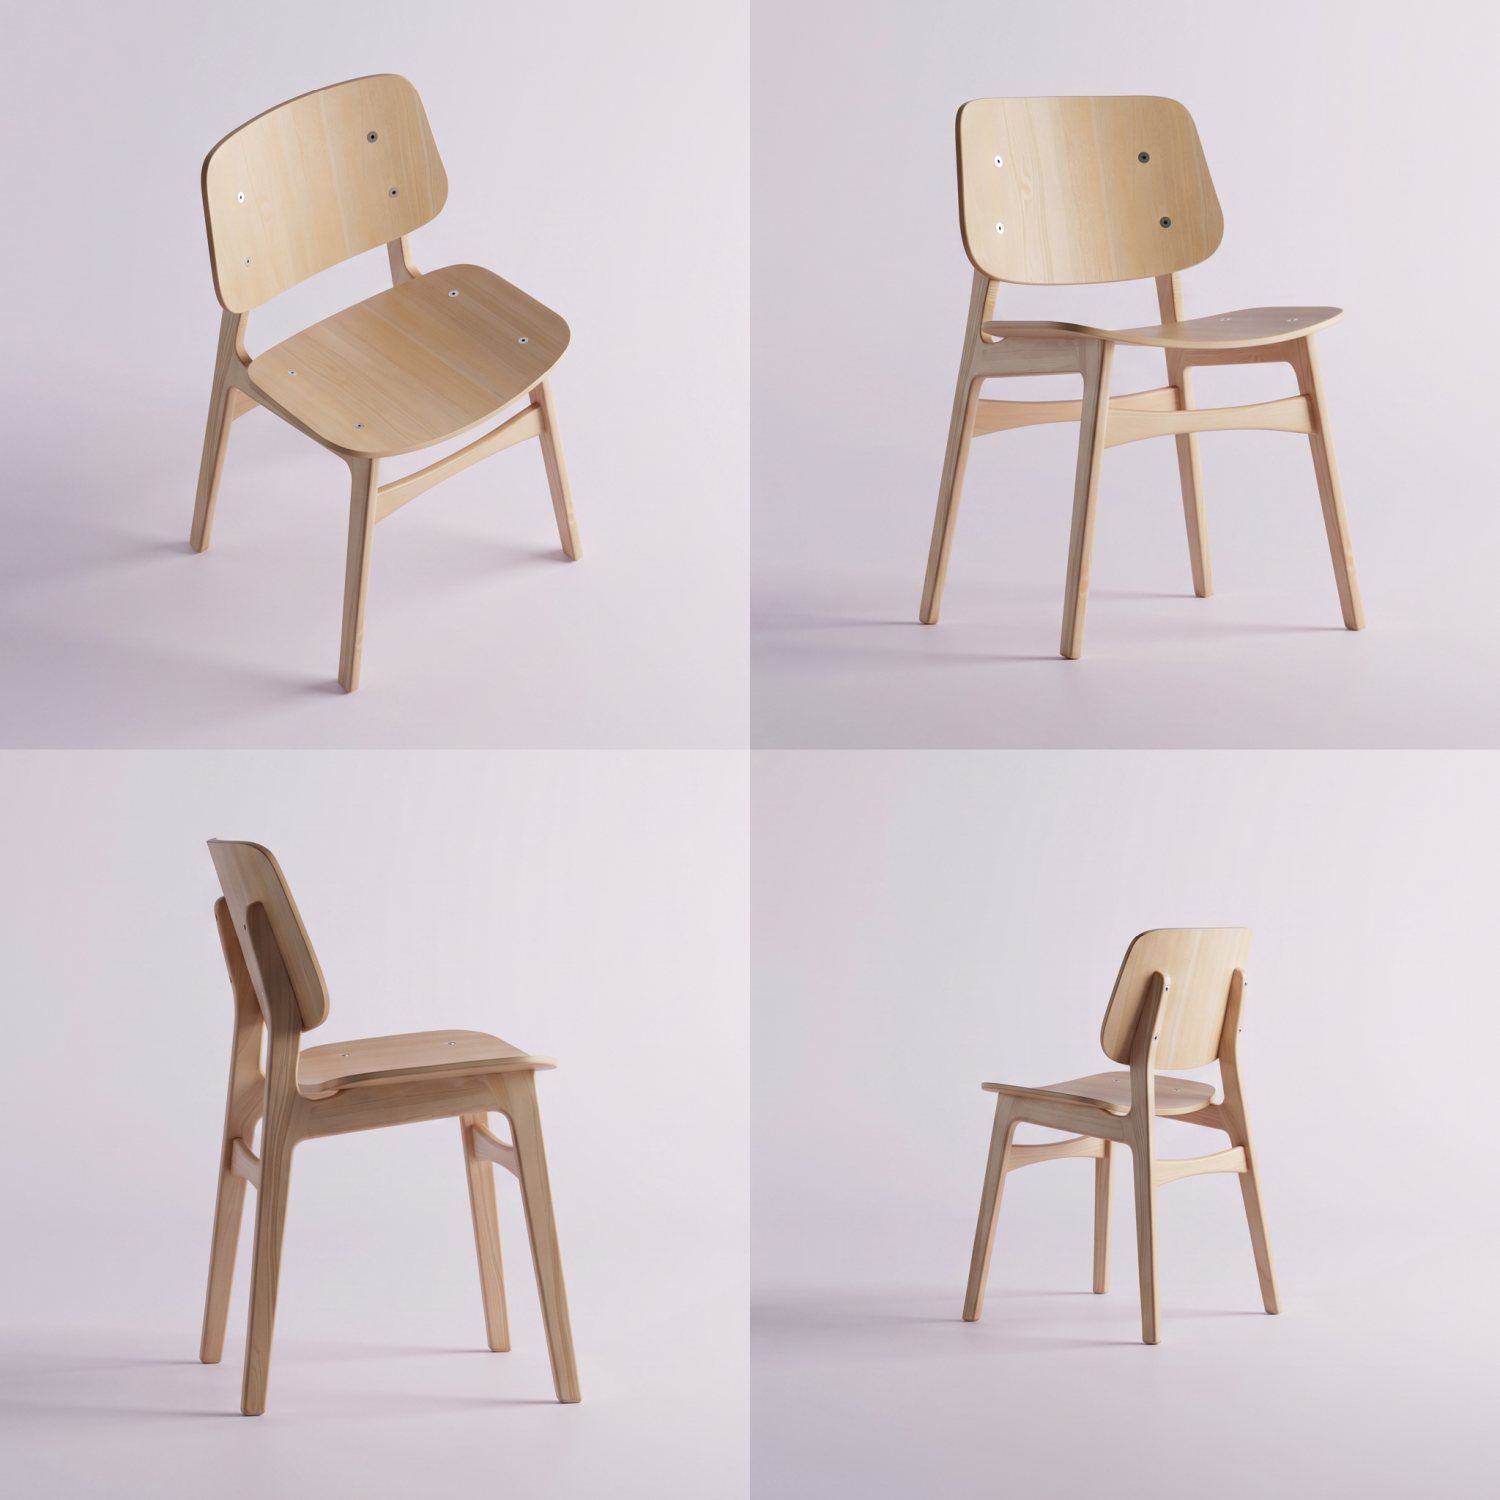 Bad example
That's why, with an incomplete set of photos, one simple rule applies:
You have four correct views - upload all of them, the model will keep realistic proportions.
You have one good photo and two uncertain ones - upload just the good photo into the Front field.
You only have an angled shot - that also goes into the Front field, and it's enough to start with.
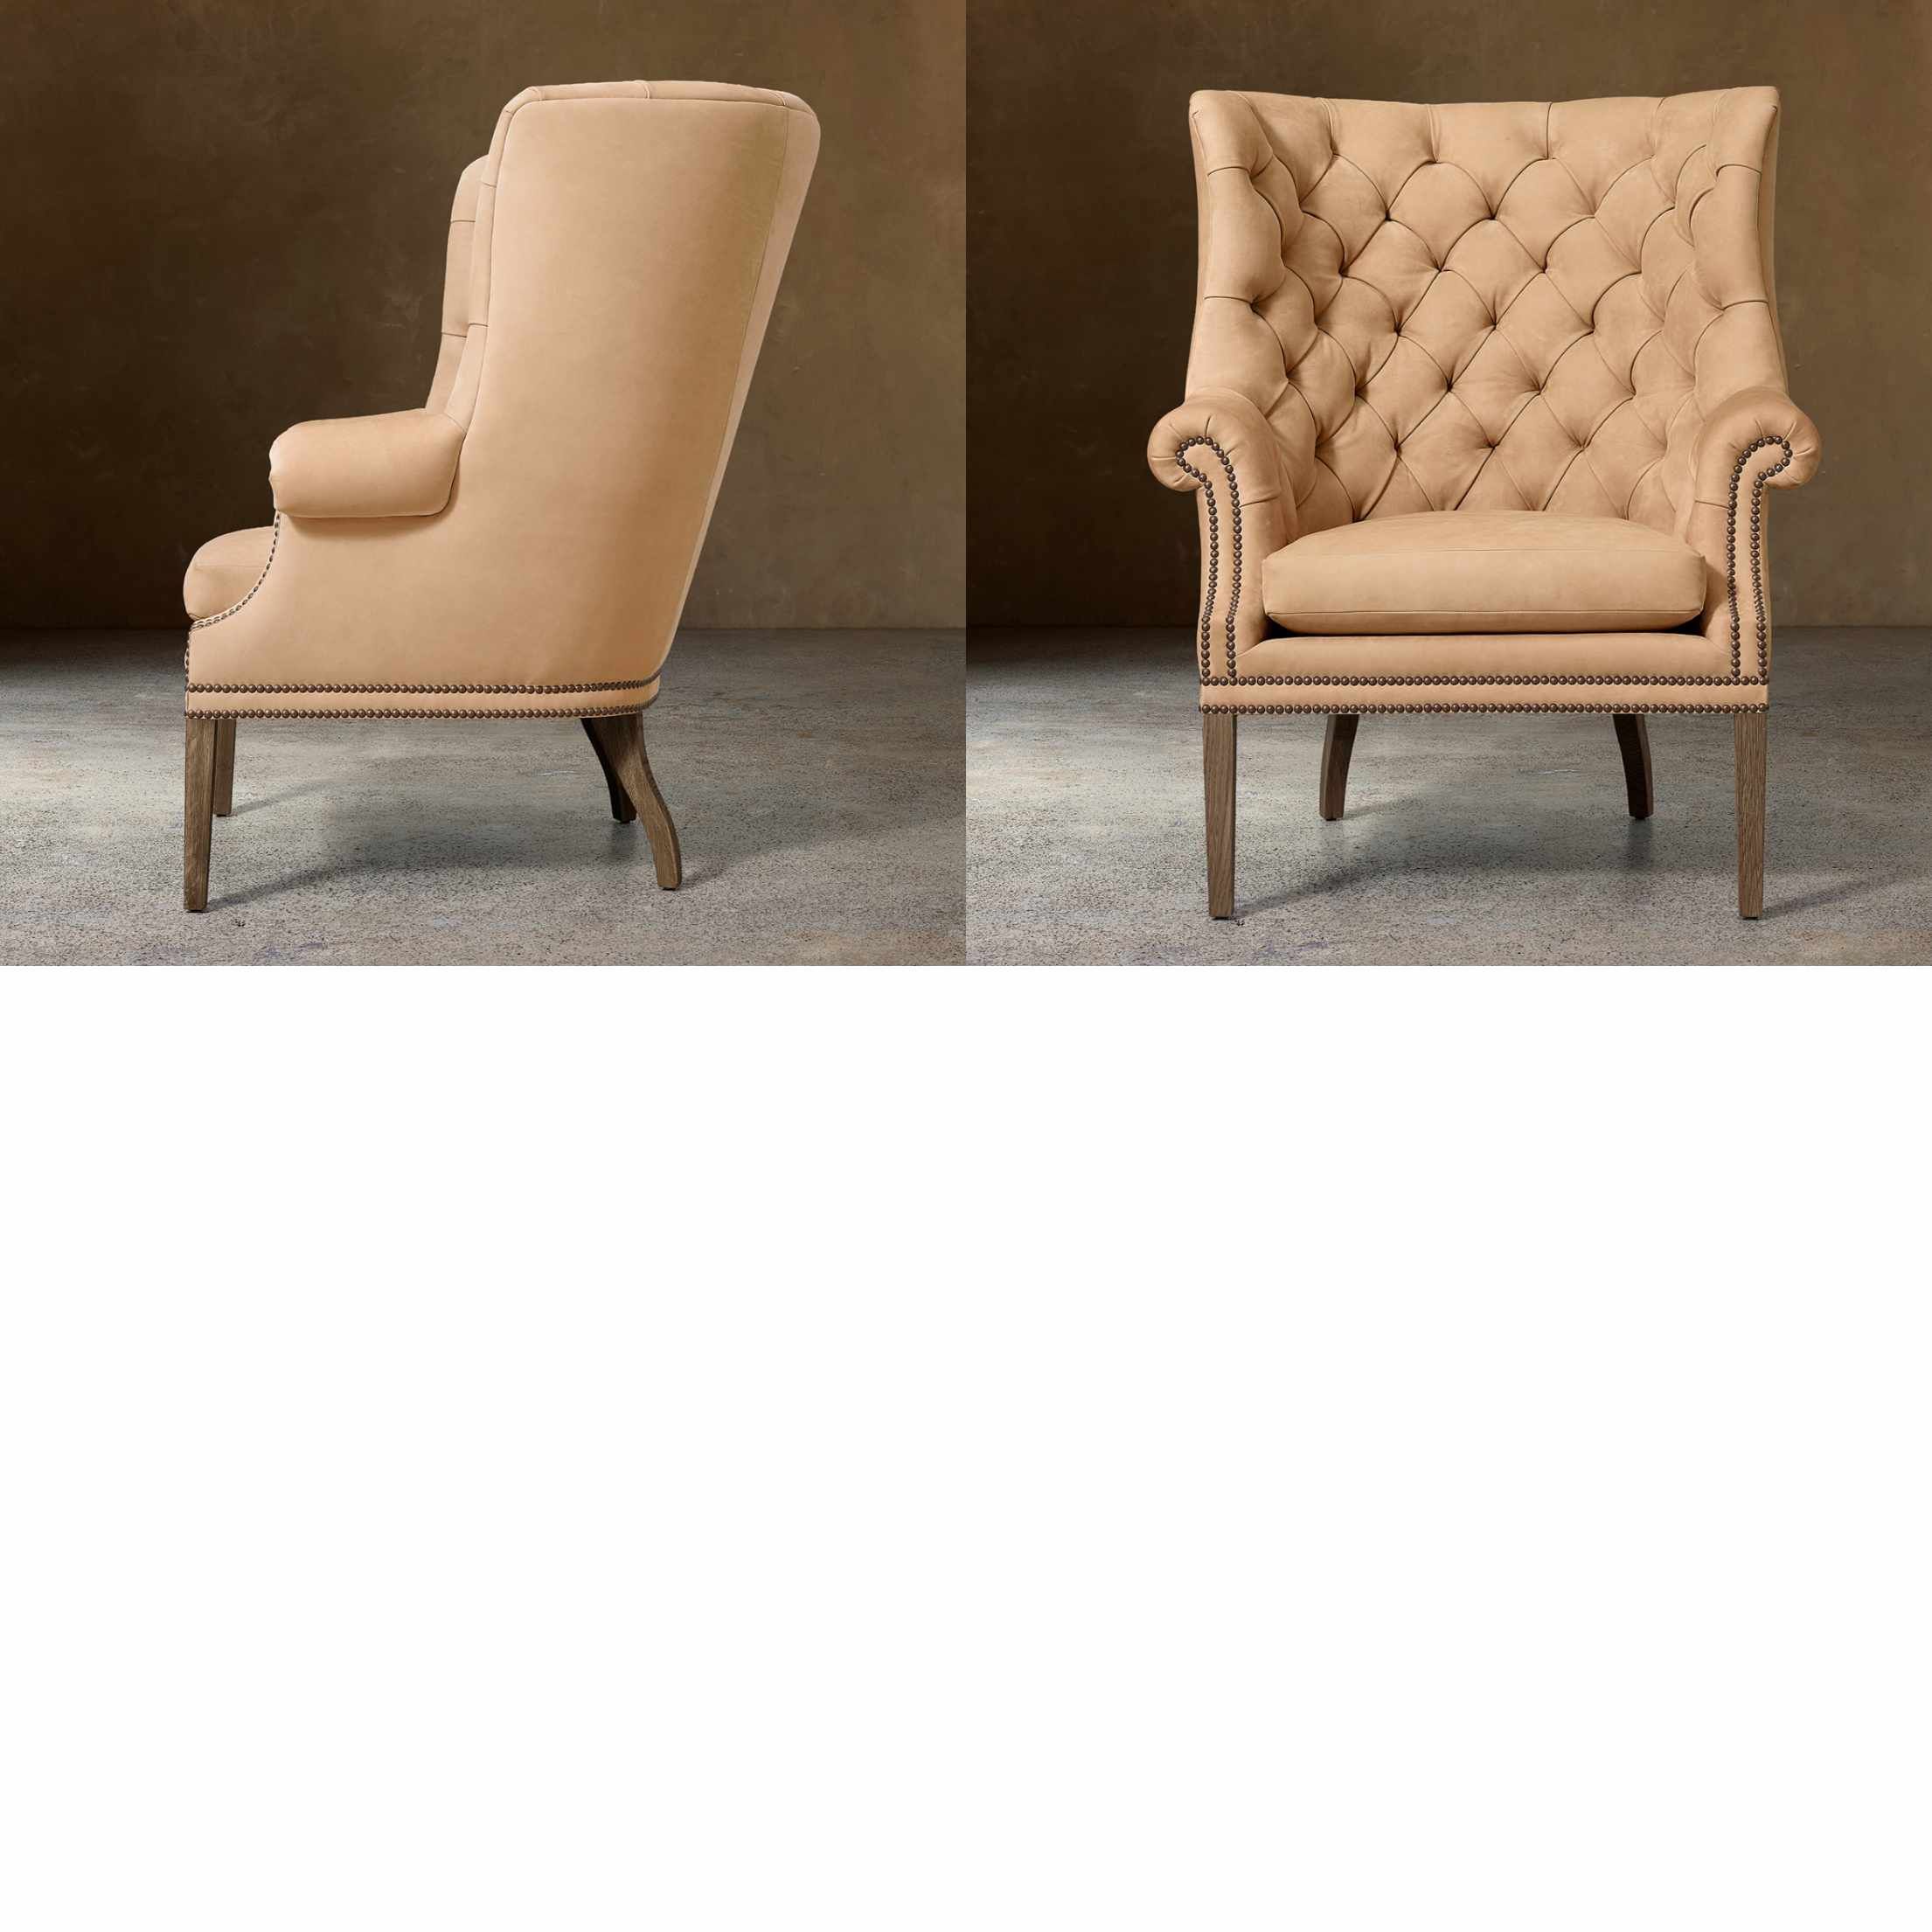
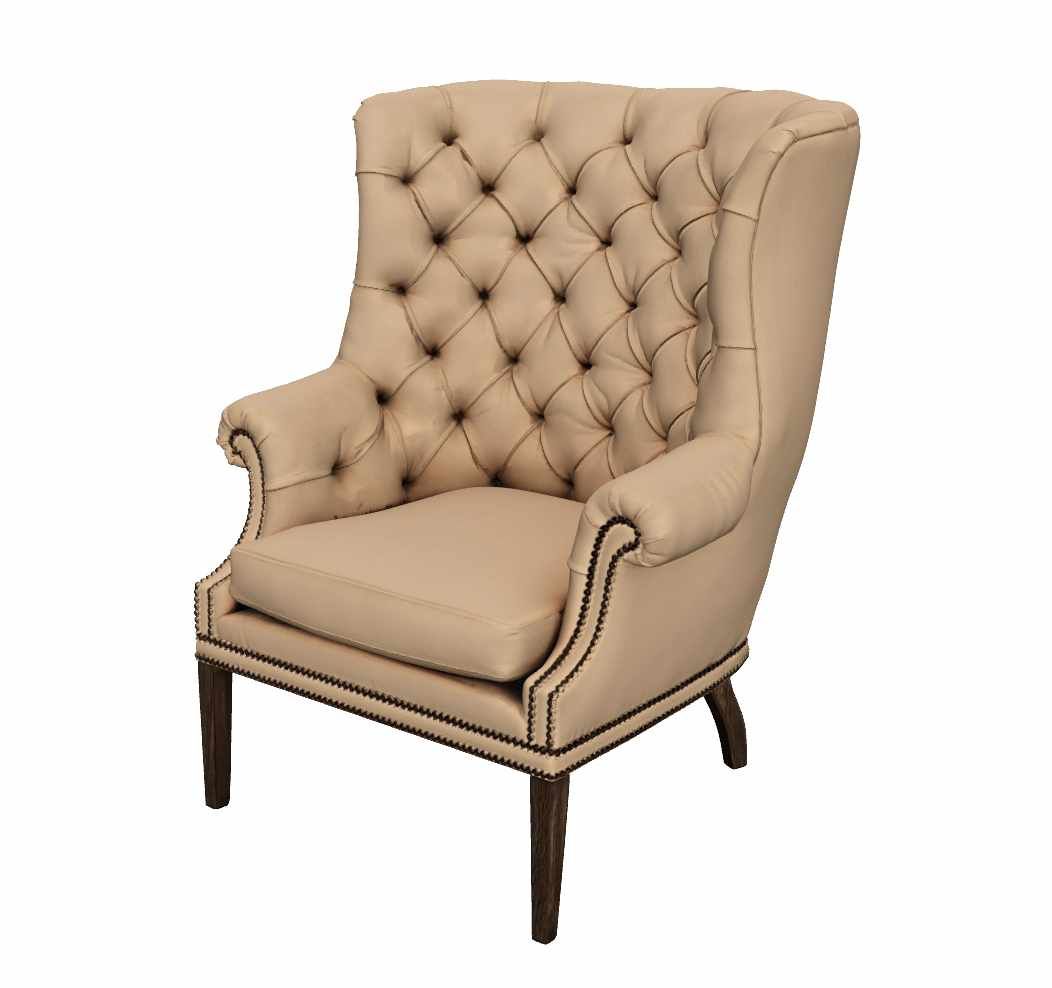
One reliable photo beats three inaccurate ones. Also, don't upload technical drawings, projections, or cross-sections into the photo fields, because the generator reads photographs, and it interprets lines on a white background as flat geometry.
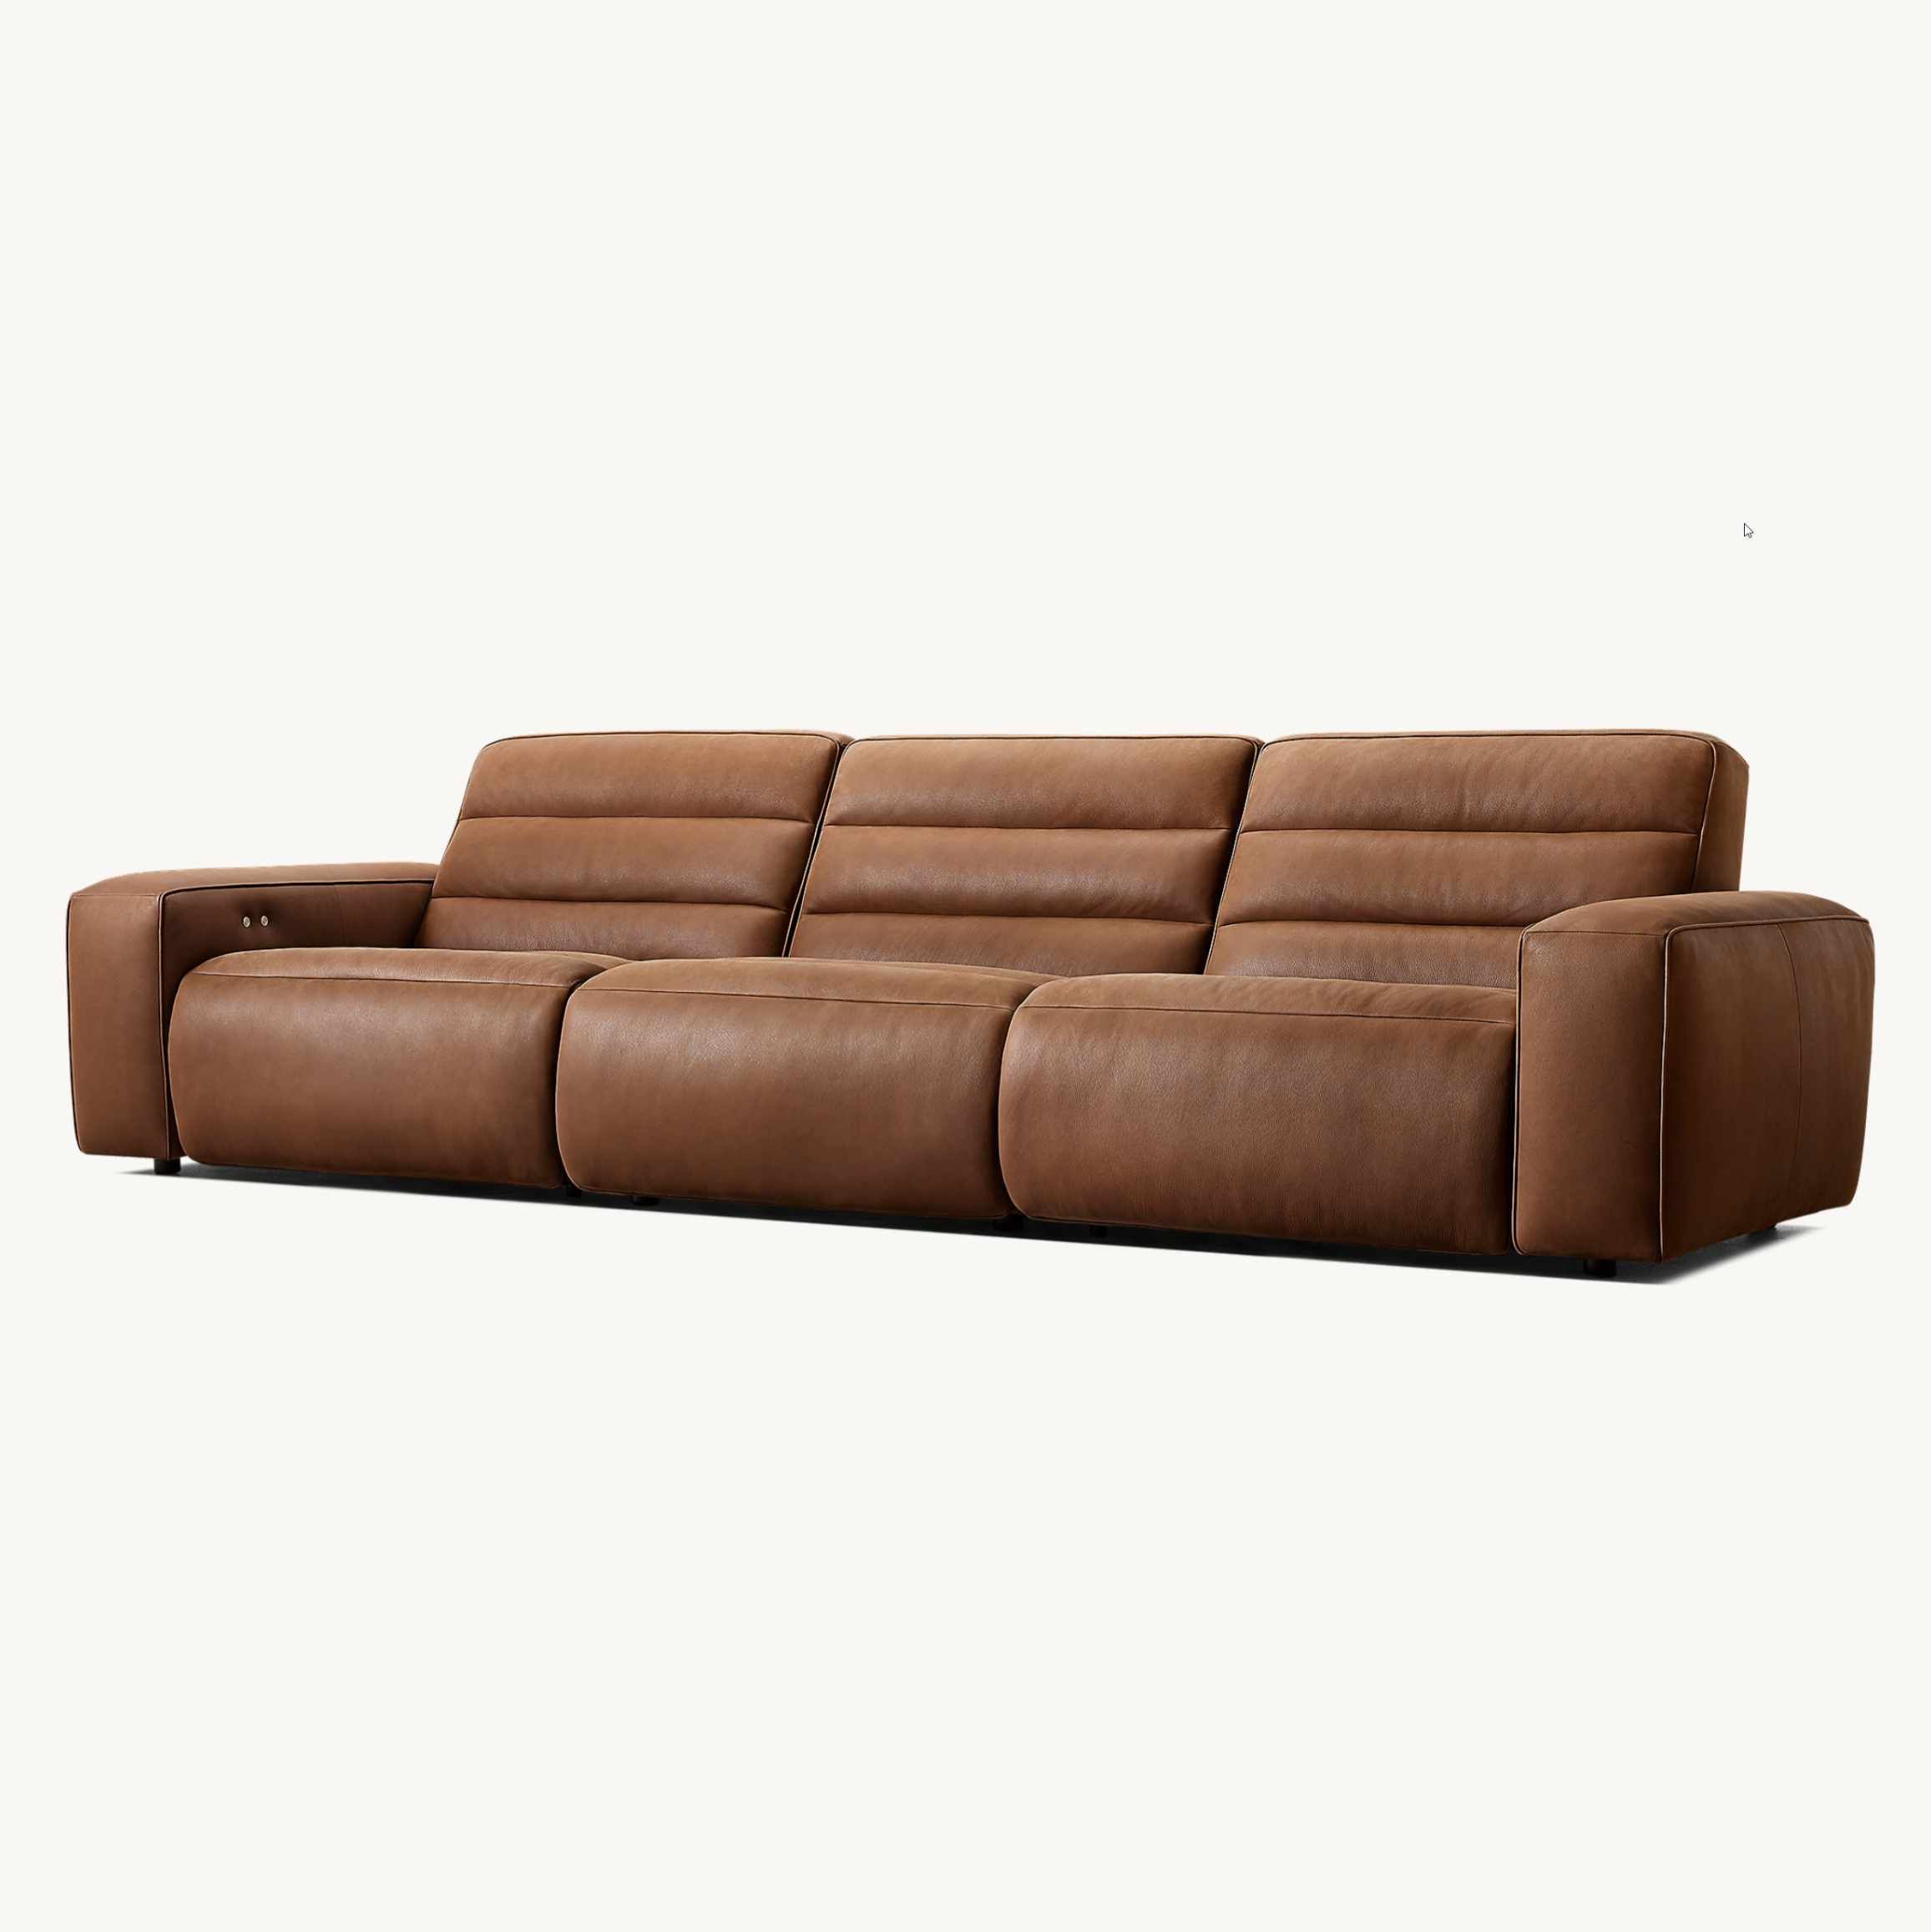
 Good example
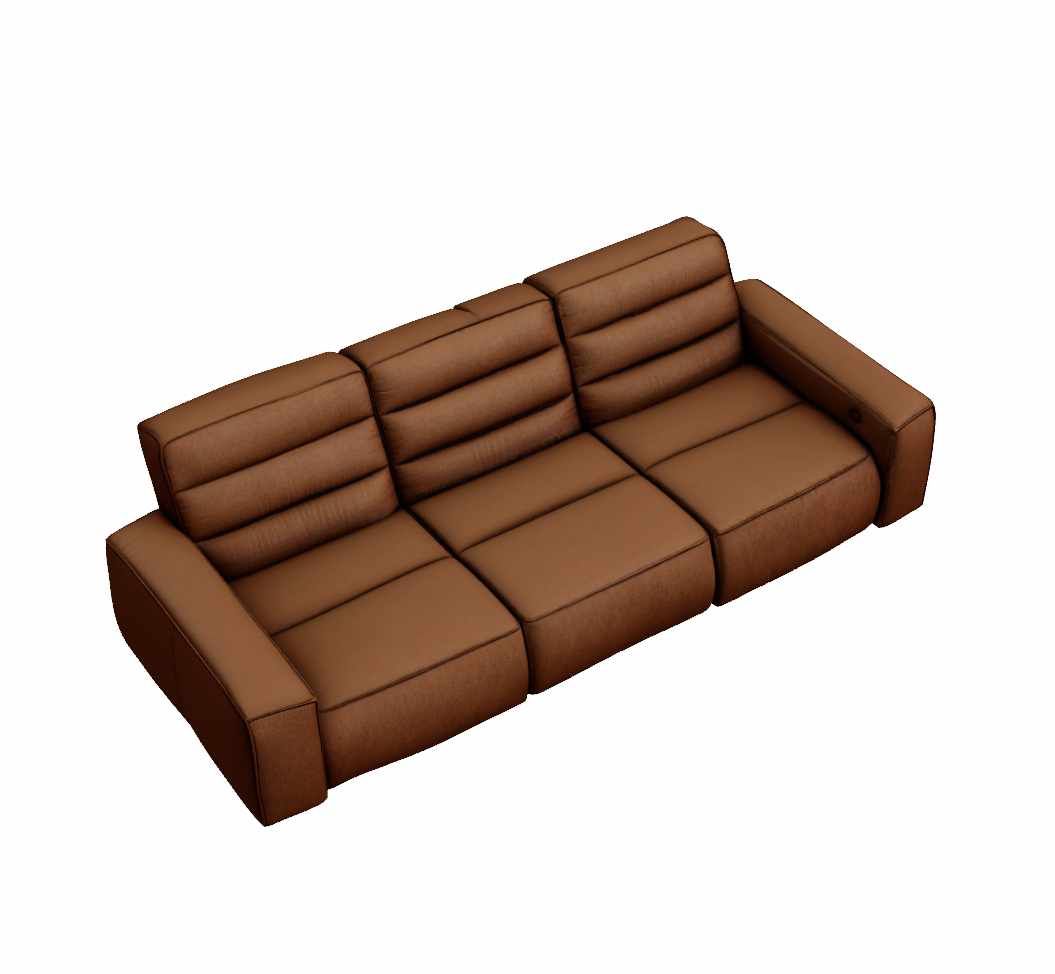
 Bad example
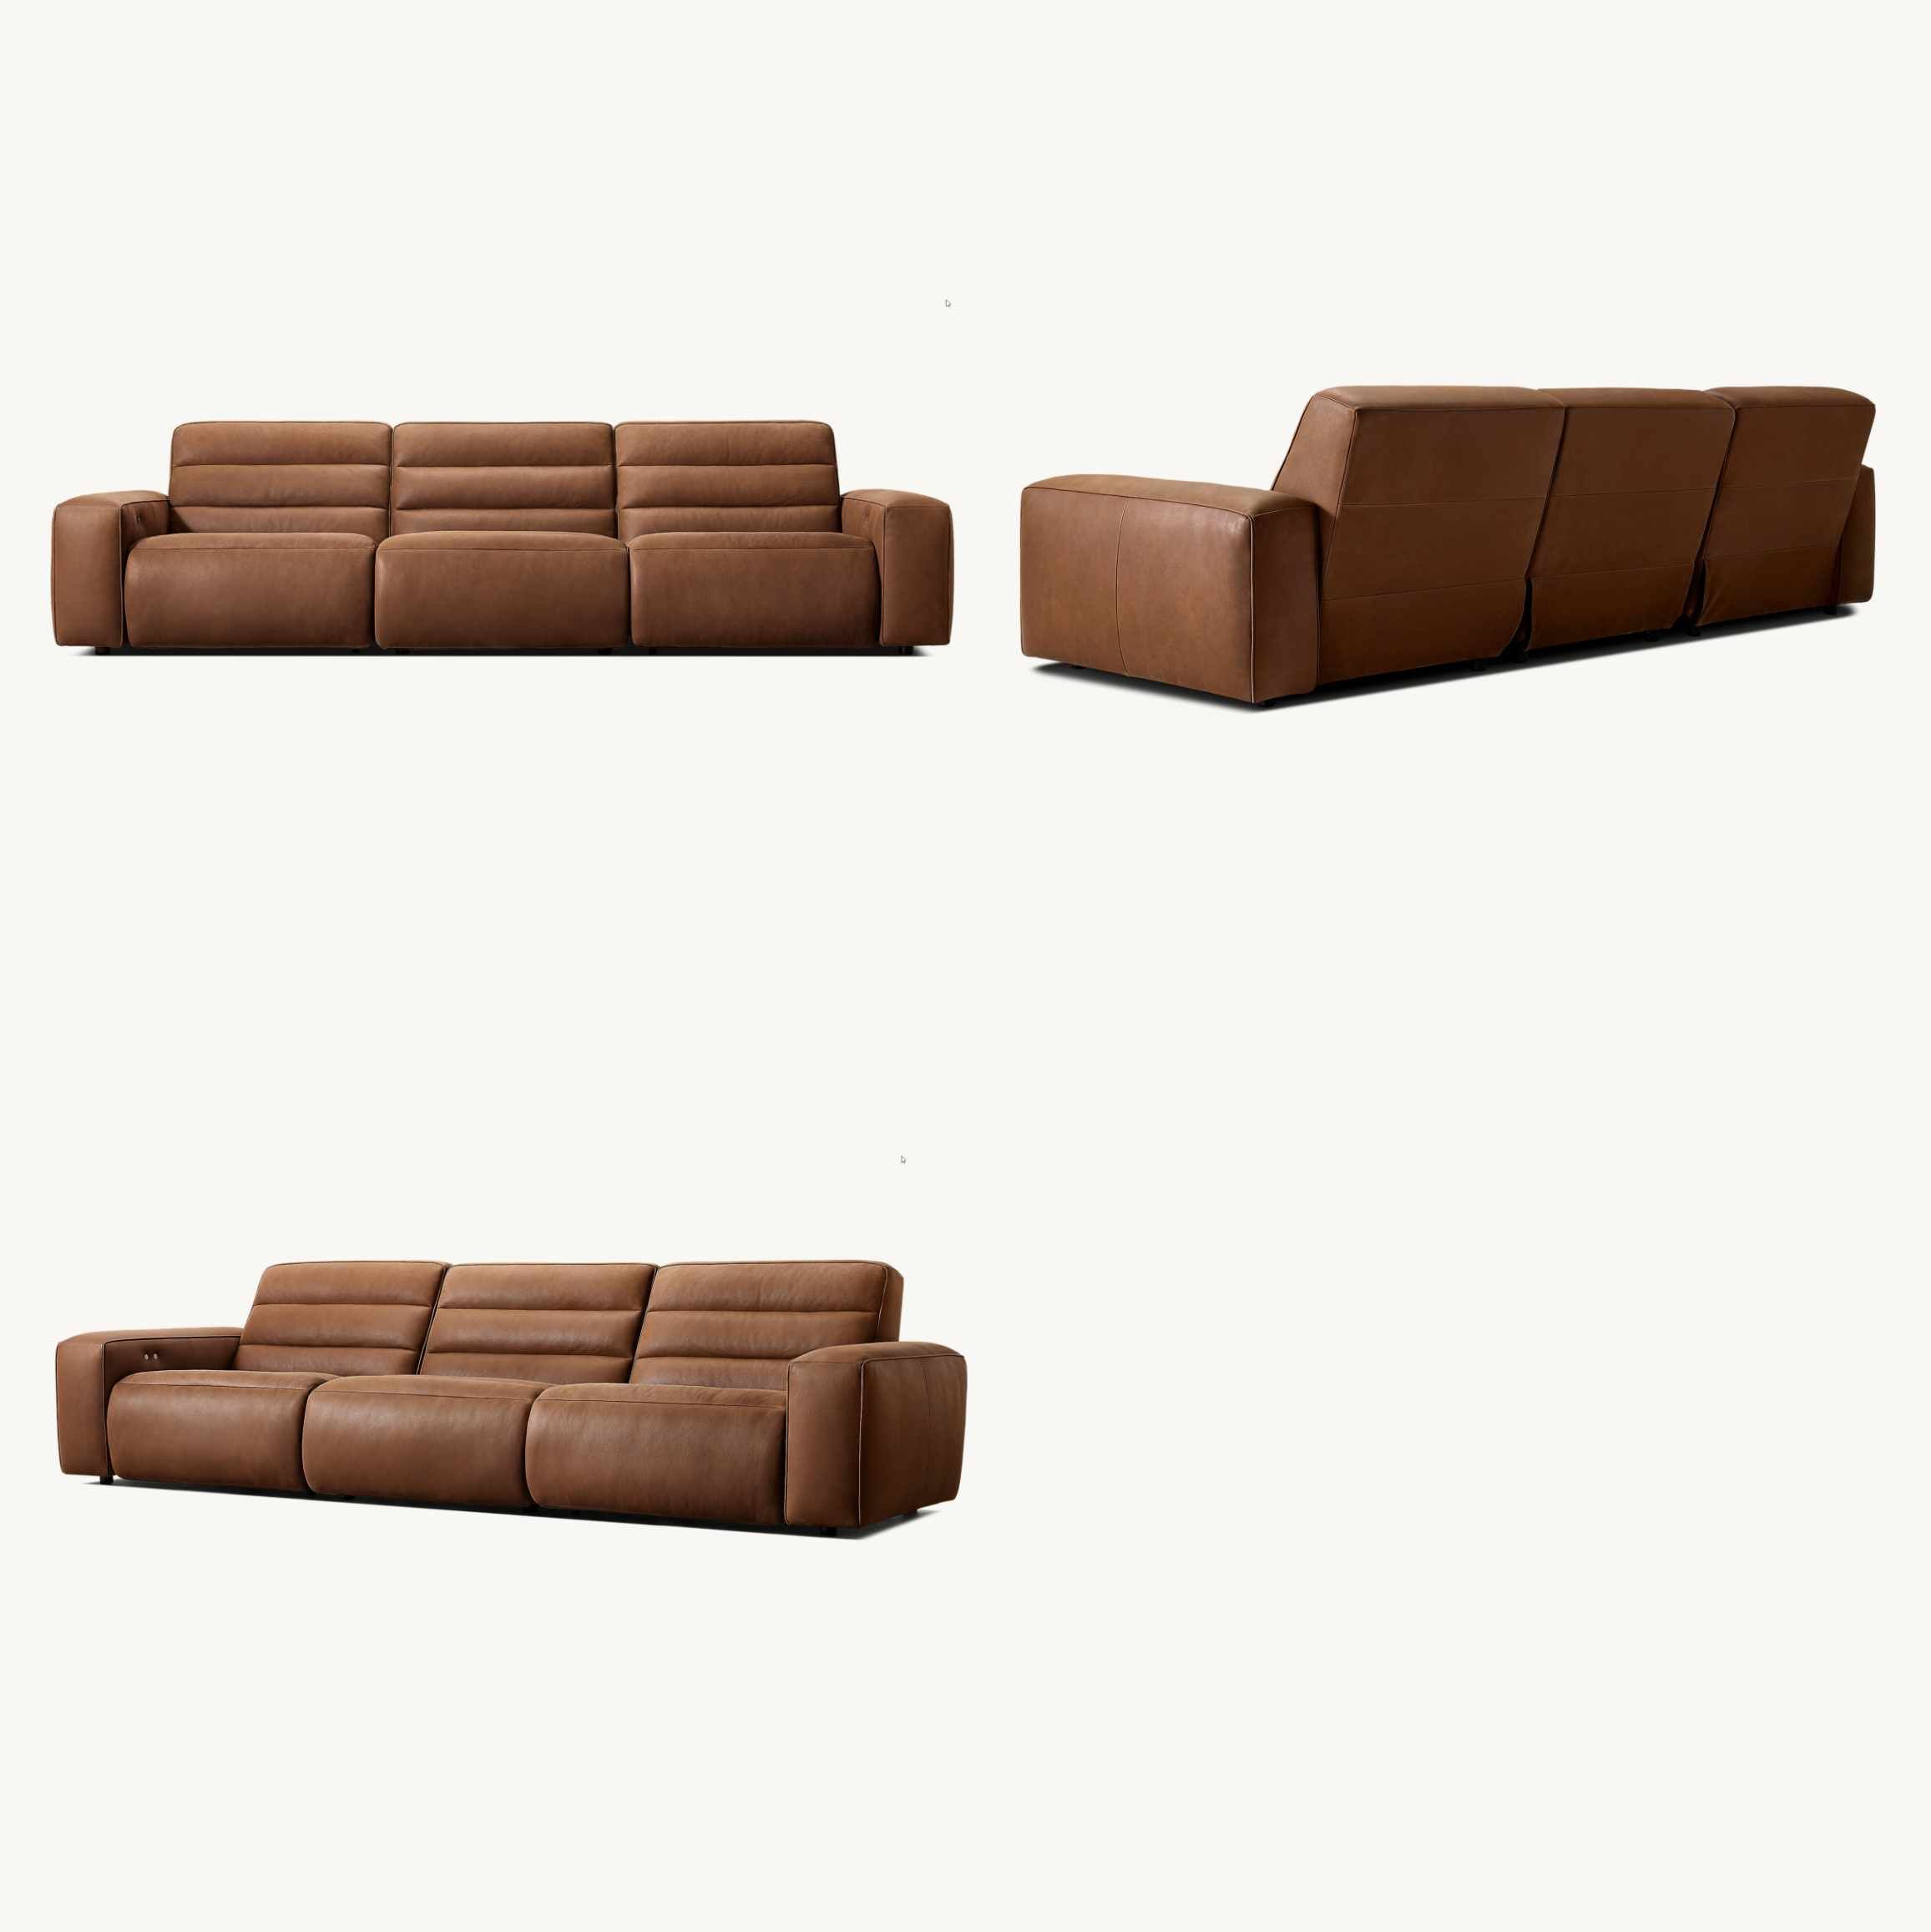
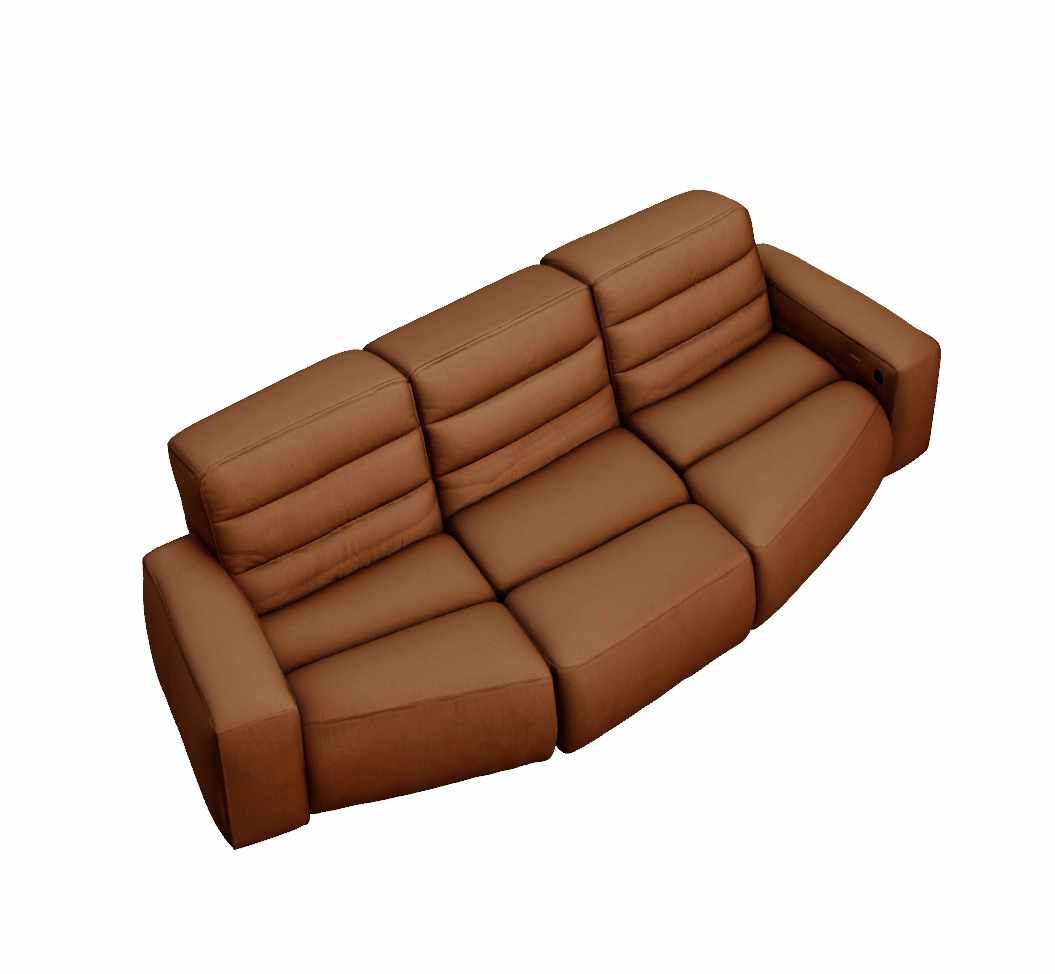
Below you can see two examples. In the first, the sofa was generated from just one photo, while in the second case it was generated from three photos that were good quality, but the object wasn't turned correctly in them, so AI didn't fully understand the sofa's proportions.
The photo should only contain the object you want to generate
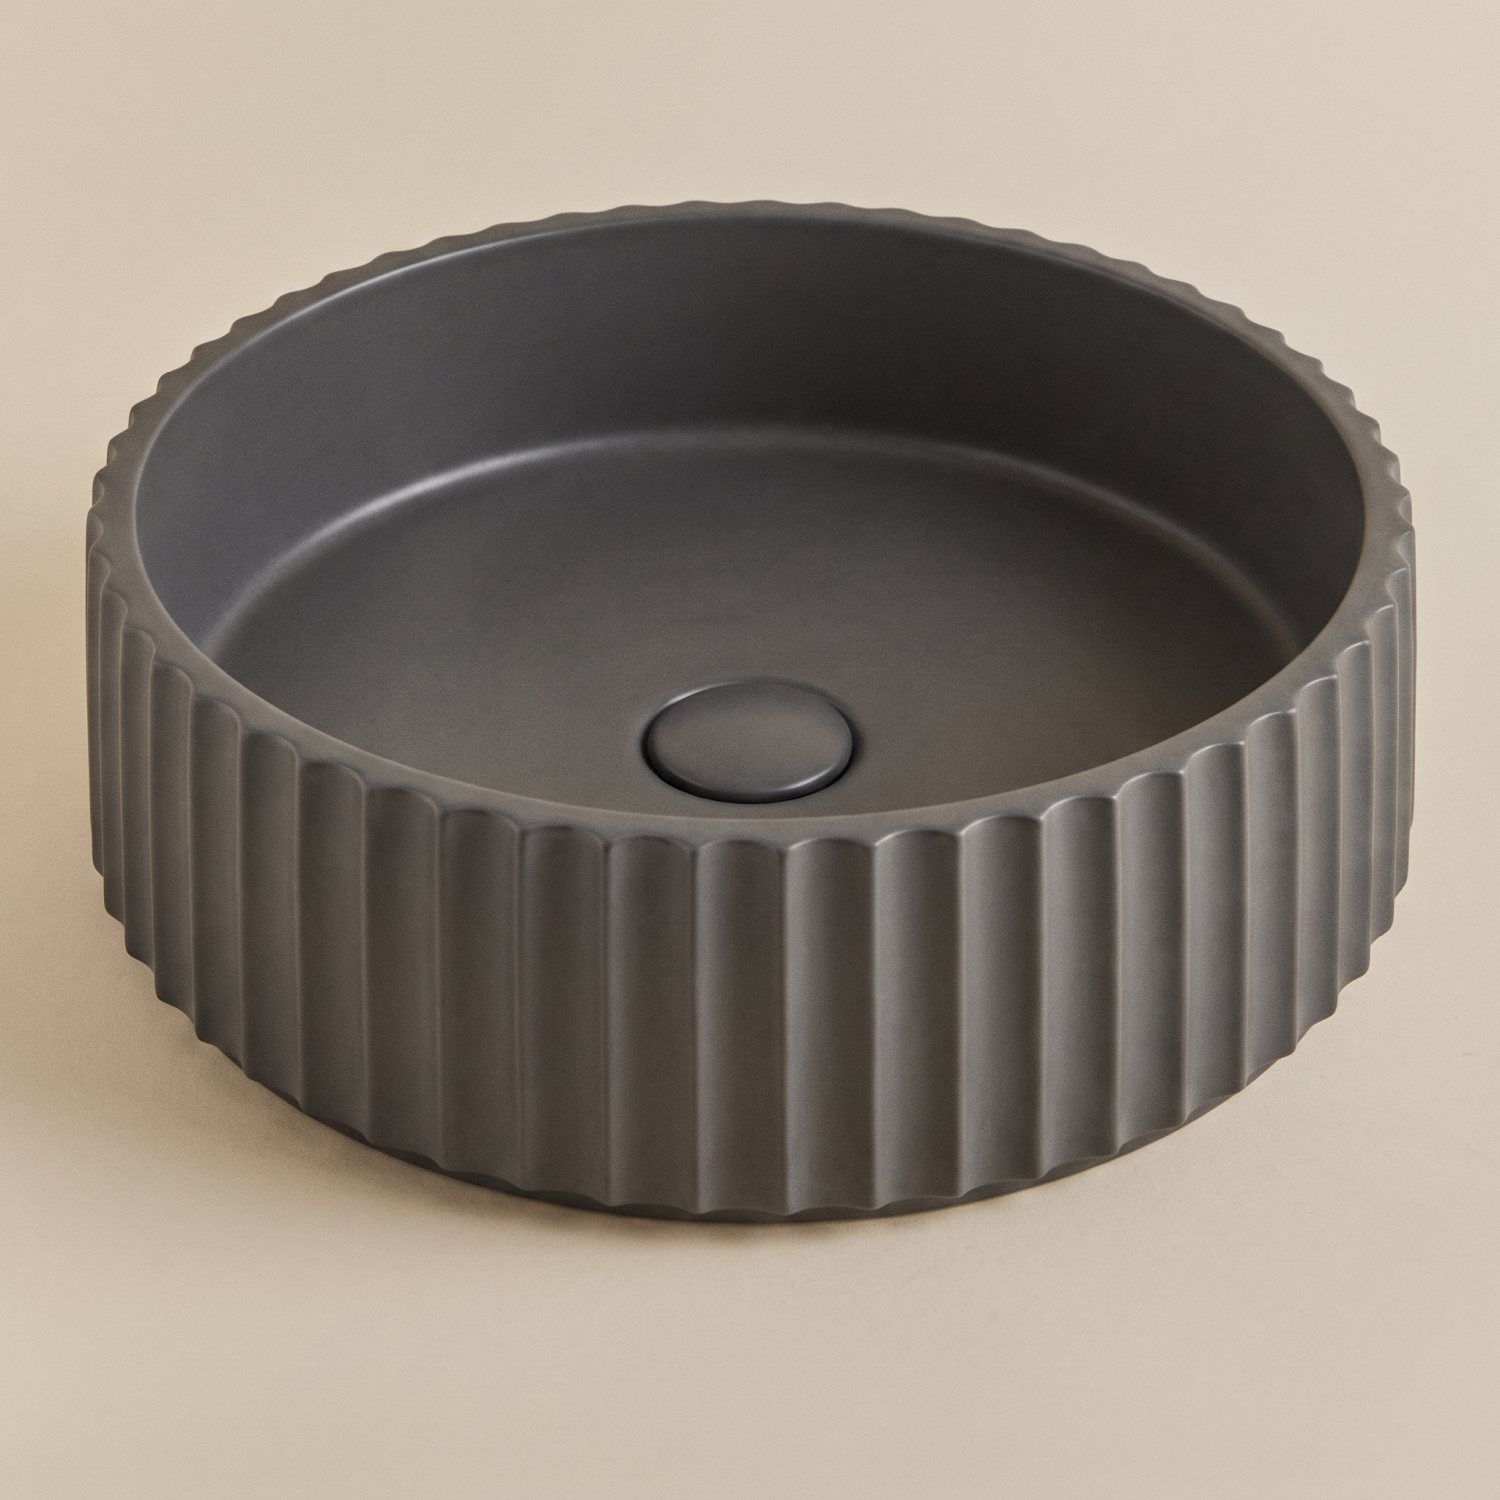
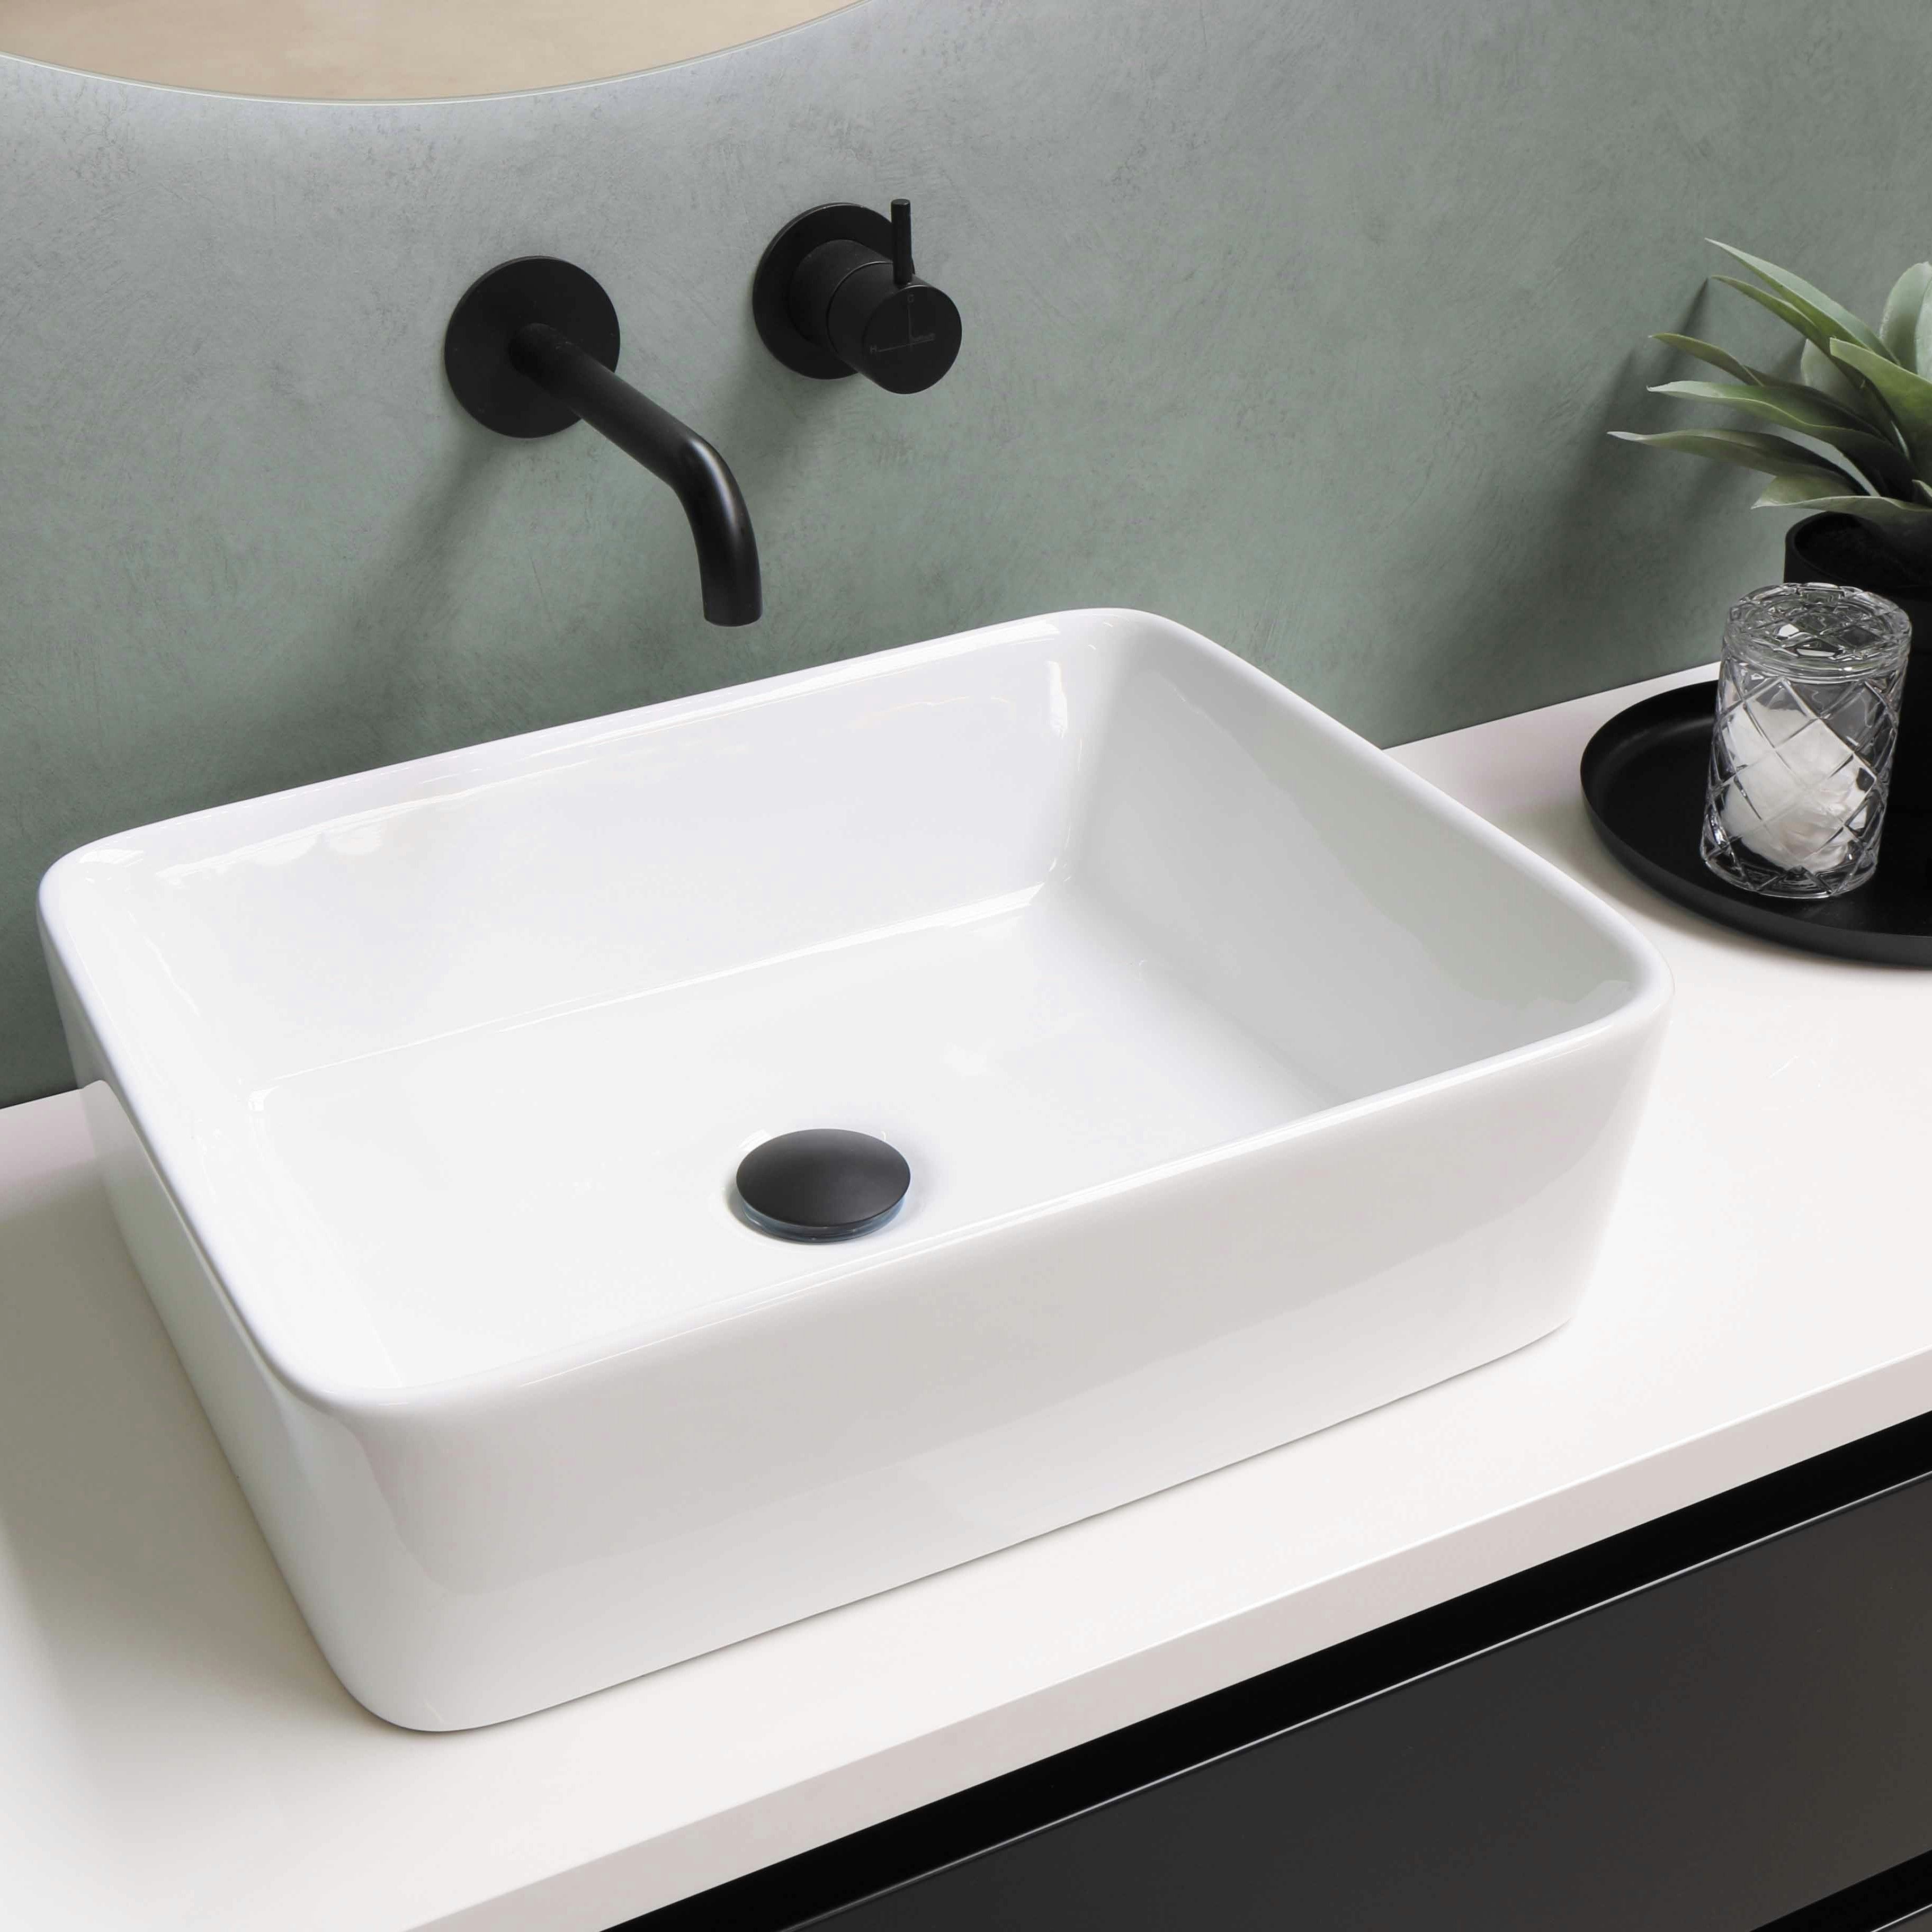
A set of views is half the success, the other half is what's in the frame. The photo should contain only the object you want to generate. If you need a model of a sink, upload a photo of just the sink, not the sink together with a mirror, faucet, and a cabinet underneath. With that kind of framing, AI doesn't know where to draw the model's boundary, and it usually fuses everything into one shape.
 Good example
 Bad example
You can also generate several objects at once from a single photo, but that works best with simple shapes: sets of vases or small decorations on a shelf. A table with four chairs most likely won't generate correctly. Generate such sets individually and only arrange them together in the scene afterward.
When it's faster to model the object yourself
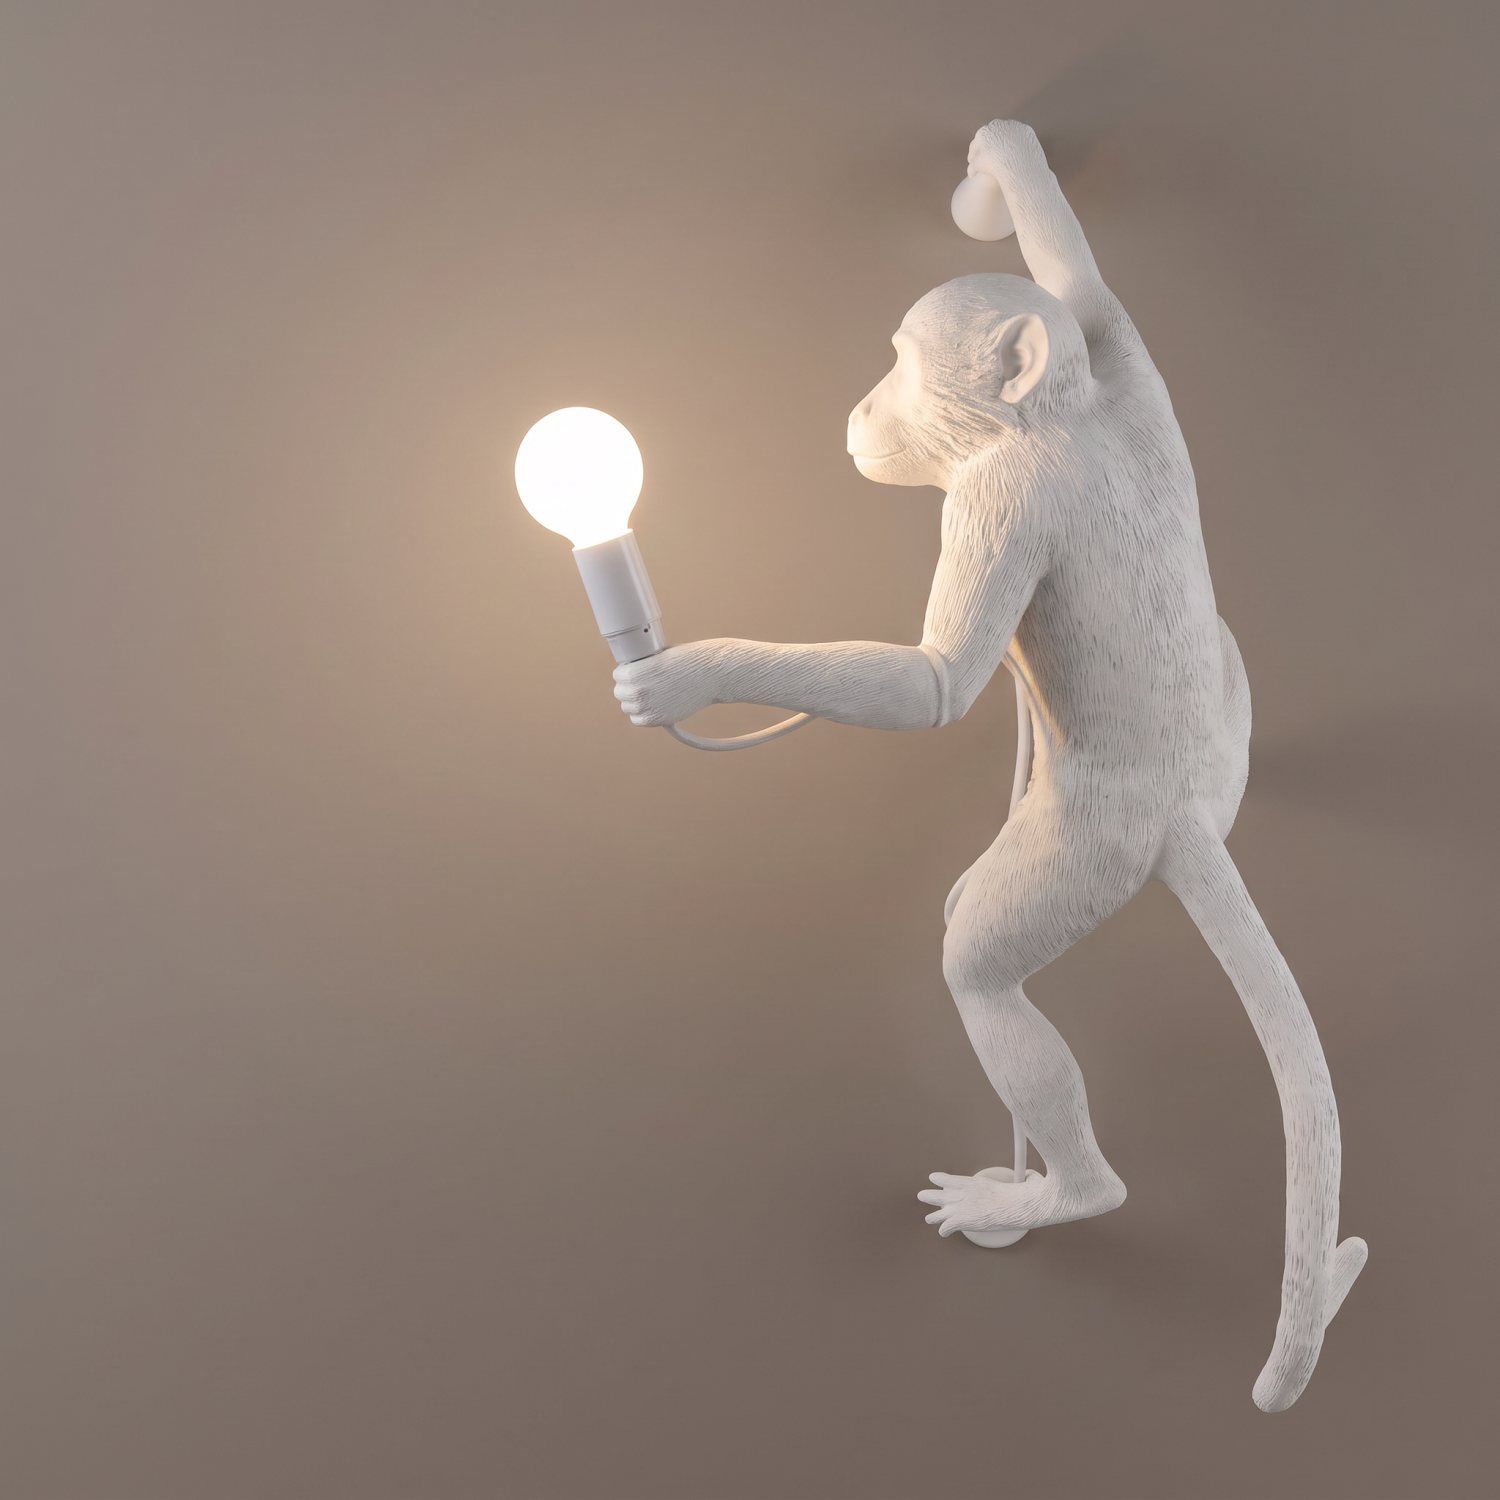
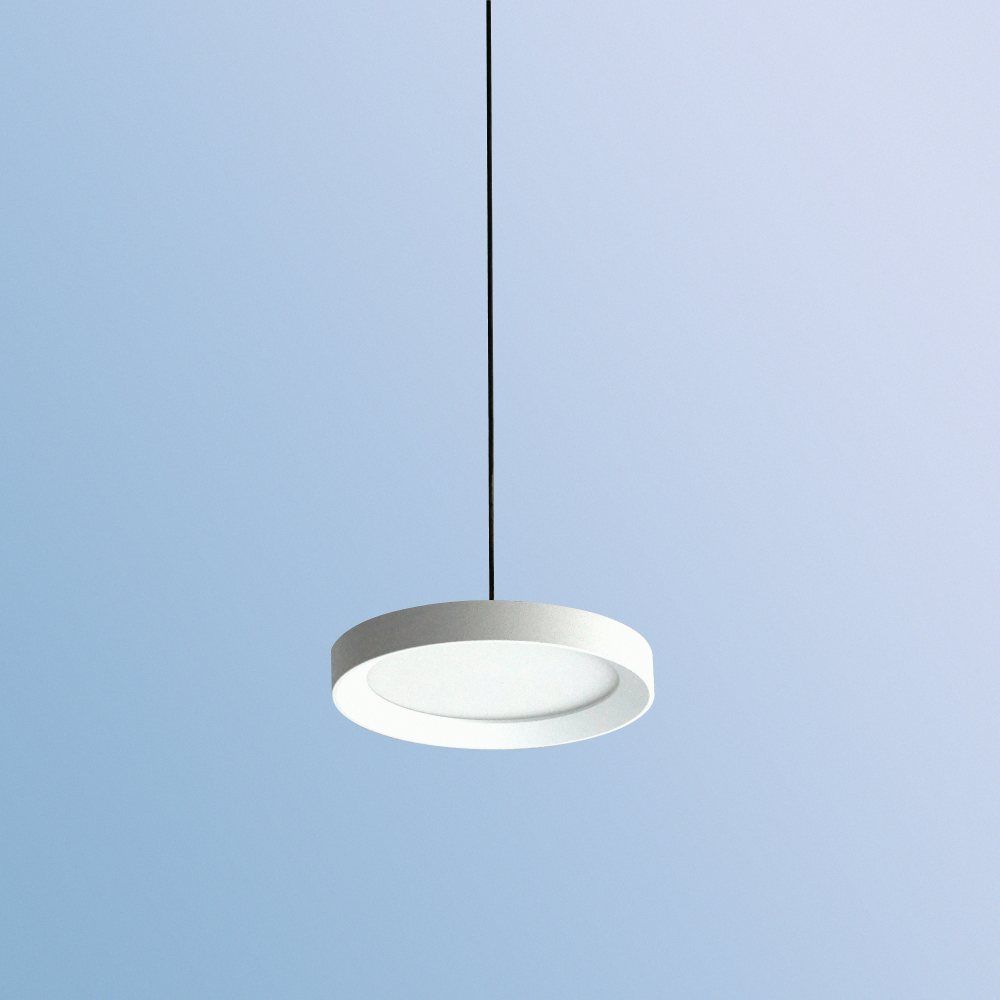
There's a line beyond which generating stops being worth it, and it runs through simple geometry. A simple lamp made of a sphere and two cylinders will take you just a few minutes in SketchUp, and in return you get precise dimensions and a clean mesh. AI generators won't keep a perfect circle and will throw in a bunch of unnecessary subdivisions along the way.
So treat generating as a way to handle objects that would take hours to model: tufted upholstery, sculptures, or rippled fabric. Simple shapes are still worth modeling yourself.
 Good example
 Bad example
Standard or precision quality? See what you're paying for
Now that you know what to generate and from what, let's calculate the cost. In Raya, a model in standard quality costs 6 credits and in most cases that's enough. Precision quality is a 4-credit surcharge in exchange for finer detail and a more accurate reproduction of the shape, so it makes sense for sculptures and furniture with rich detail.
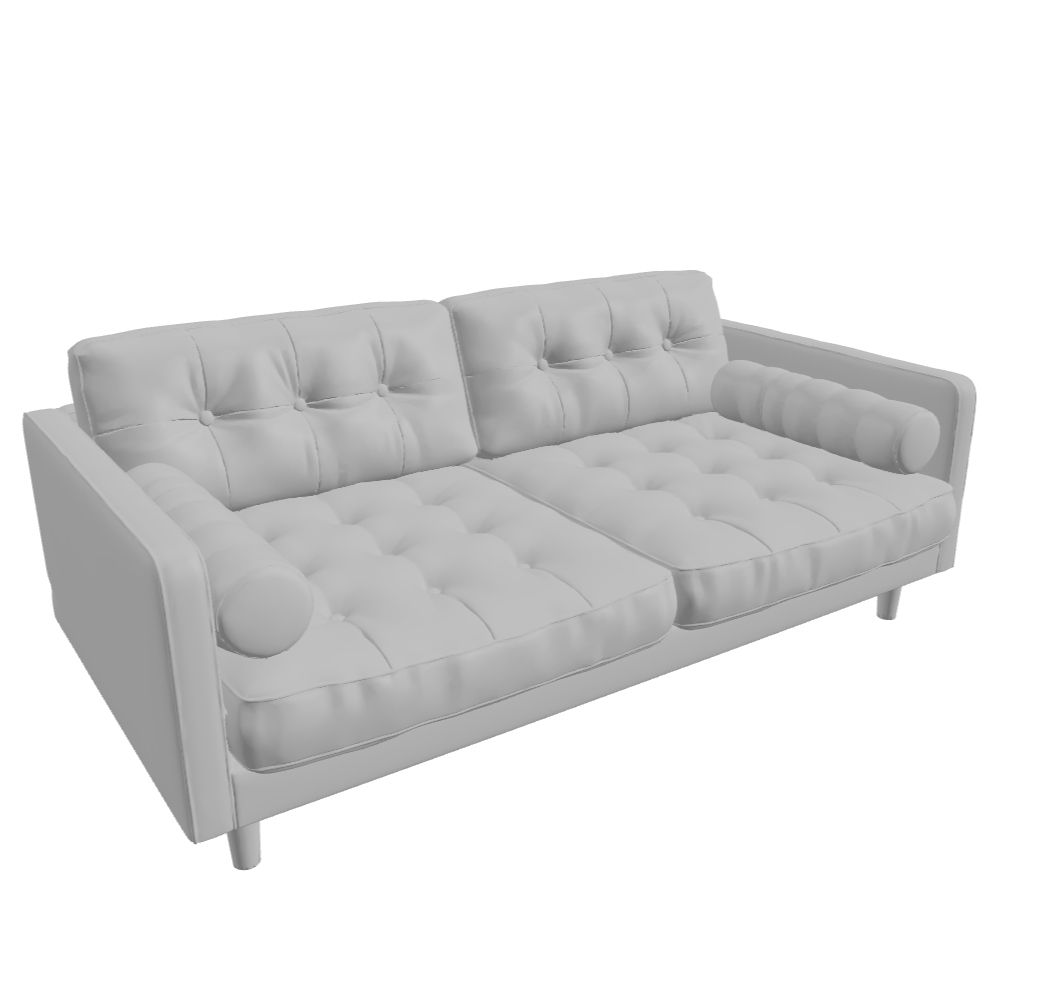
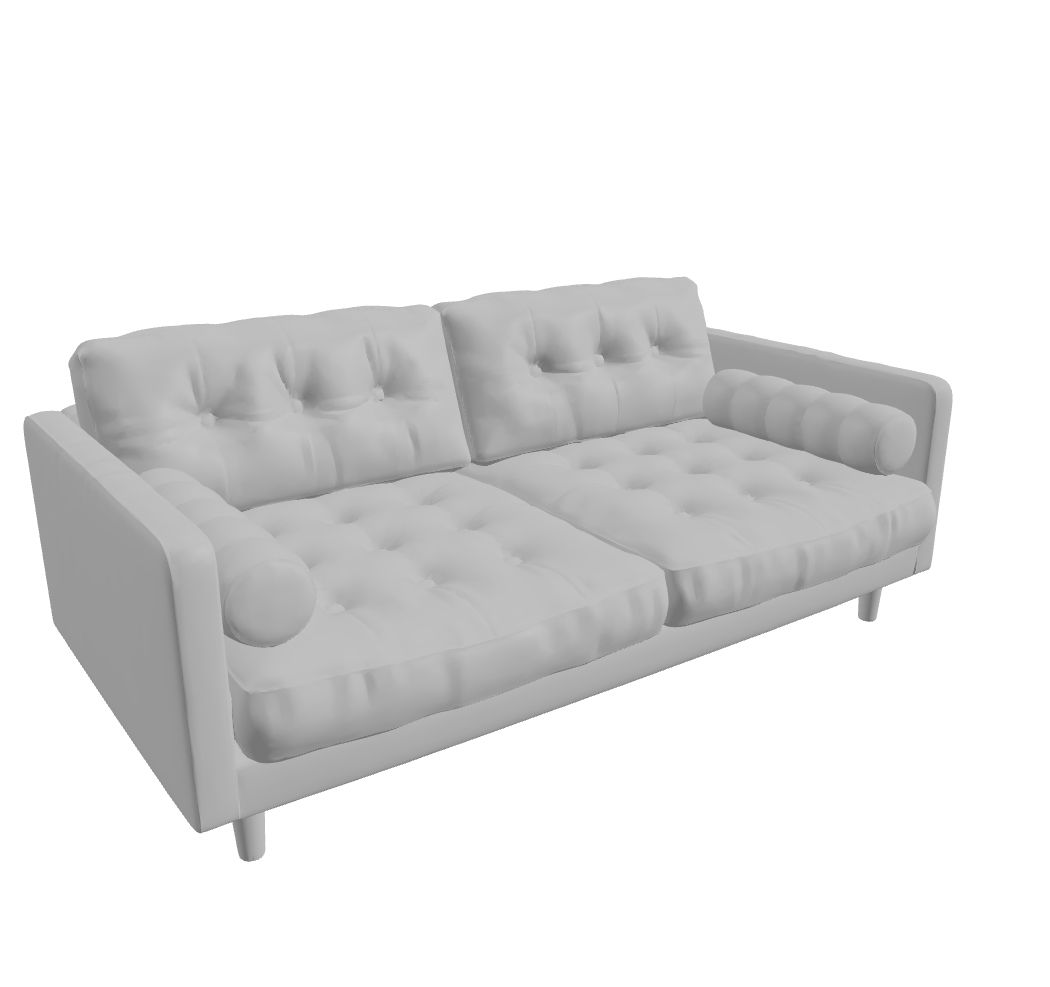 Standard qualityPrecision quality
The total rate for a single generation is made up of several items:
Standard quality: 6 credits.
Precision quality: 4-credit surcharge.
Textures: 4-credit surcharge.
PBR materials (Roughness, Metallic and Normal maps): 1-credit surcharge.
Textures from the generator are approximate, so if you're going to assign materials in your renderer anyway, you can safely skip them and save. That leaves just the model for 6 credits, meaning three such models from the free welcome pool.
You set mesh density separately. Low is about 10,000 polygons and small decorations, medium is about 50,000 and typical chairs or tables, and high is about 250,000 for large, detailed objects like sofas or sculptures. Density doesn't change the price, so choose it based on the size of the object, not your budget.
Quads or triangles? Which topology to choose
Quality settings determine the price, while topology determines what you'll do with the model later. Triangles work well for most projects, because they better describe fine detail: sculptures, sofas, and anything soft and textile-like. The mesh then splits into small, irregularly arranged triangles.
Quads give even quadrilaterals, so the mesh is easier to edit afterward in a 3D program. Choose them for vases, regular geometric shapes, and anywhere you plan to make manual adjustments. As long as the model just needs to look good in a render and you don't intend to touch the mesh, the choice of topology doesn't make much difference.
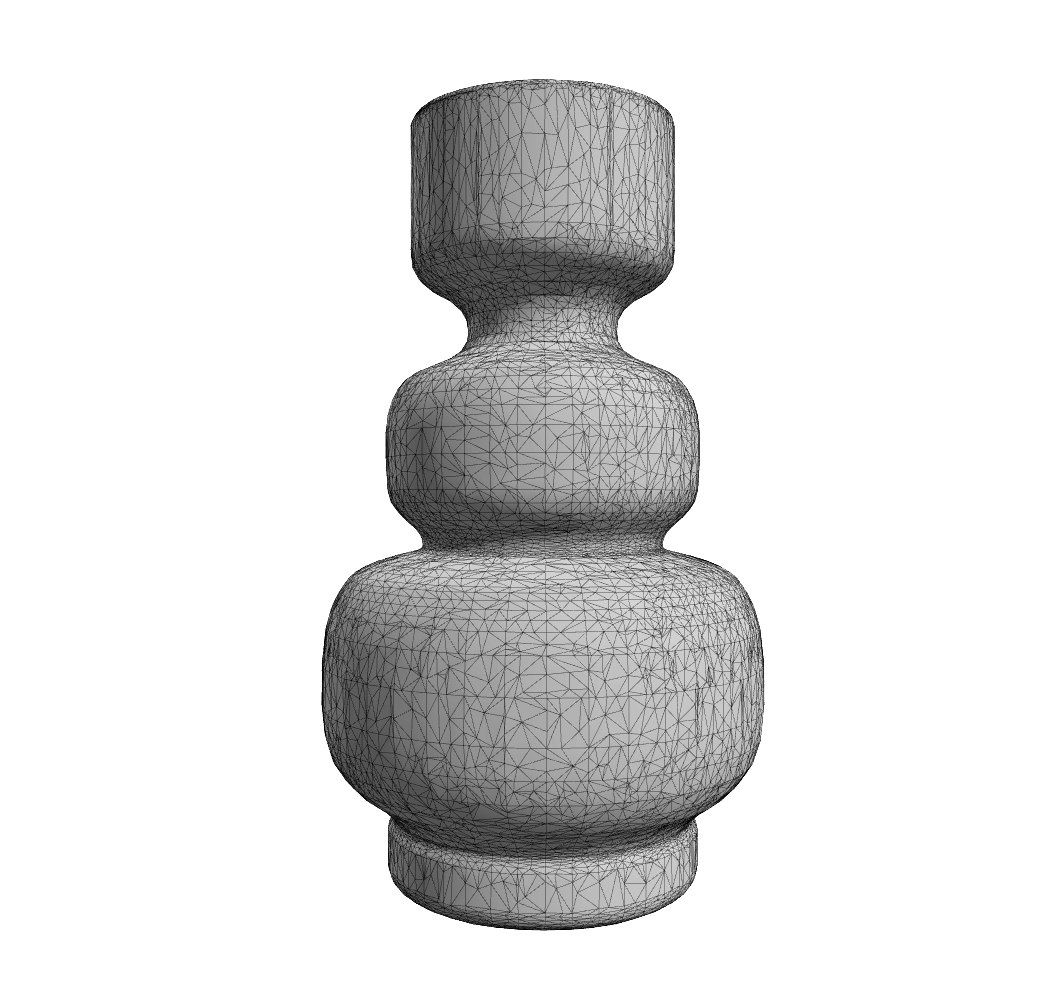
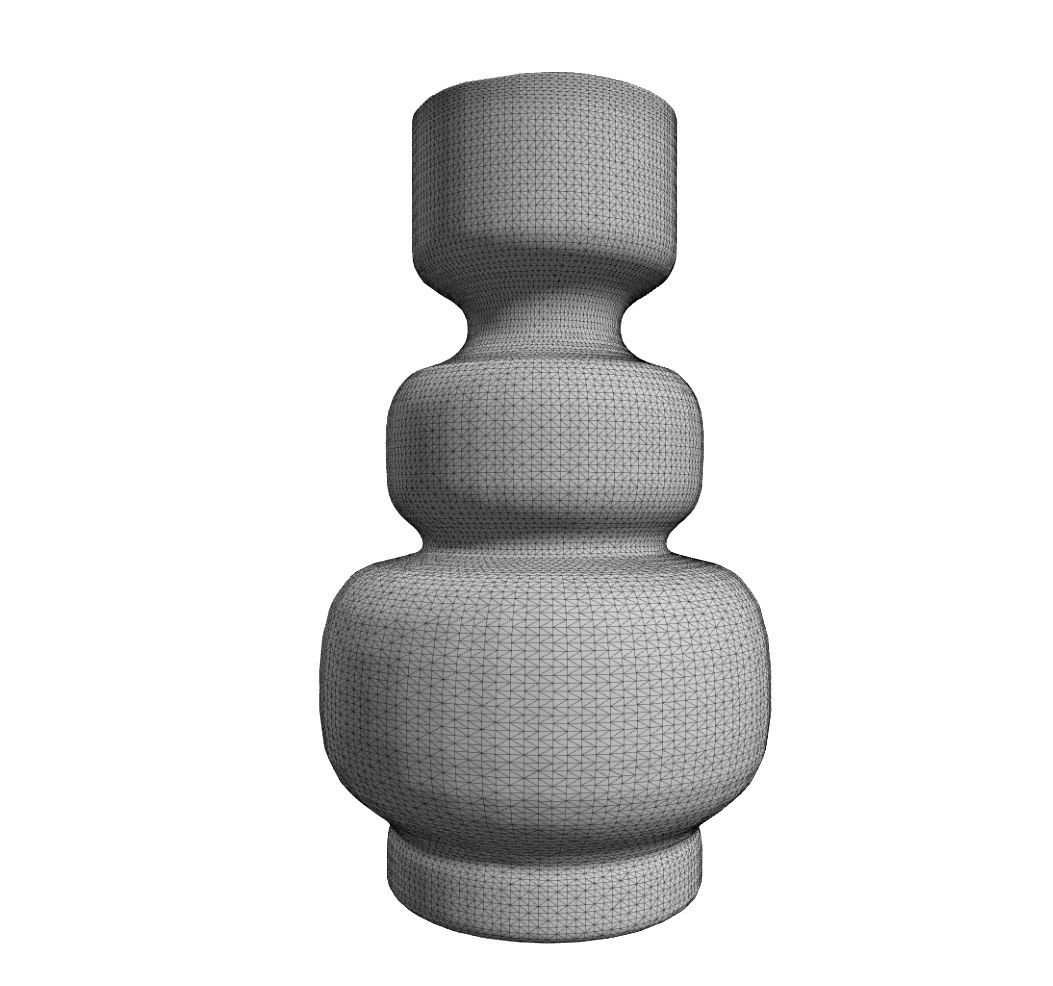
Where to start with generating 3D models from photos
You can put the rules from this guide into practice in just a few minutes, because a generation takes about a minute, and you'll download the finished model in FBX, GLB, or OBJ format and load it into SketchUp, 3ds Max, or Blender. If you work in SketchUp, you can insert the model into the scene with one click from within the free Raya plugin, with no exporting or importing.
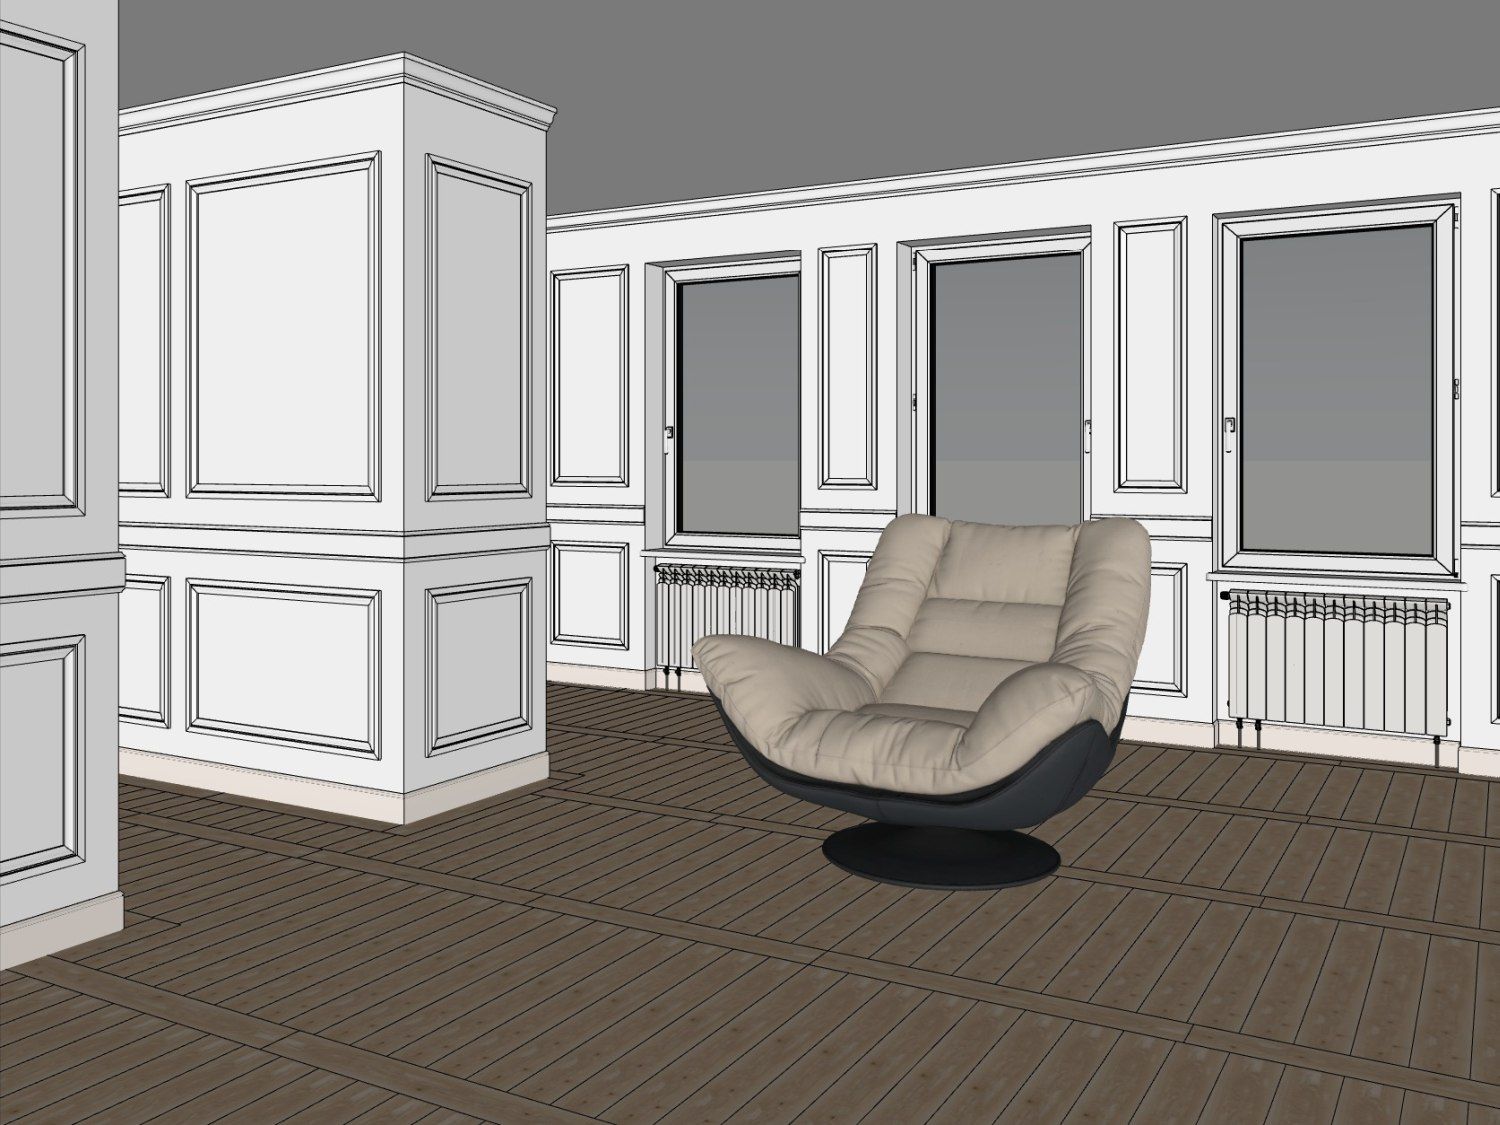
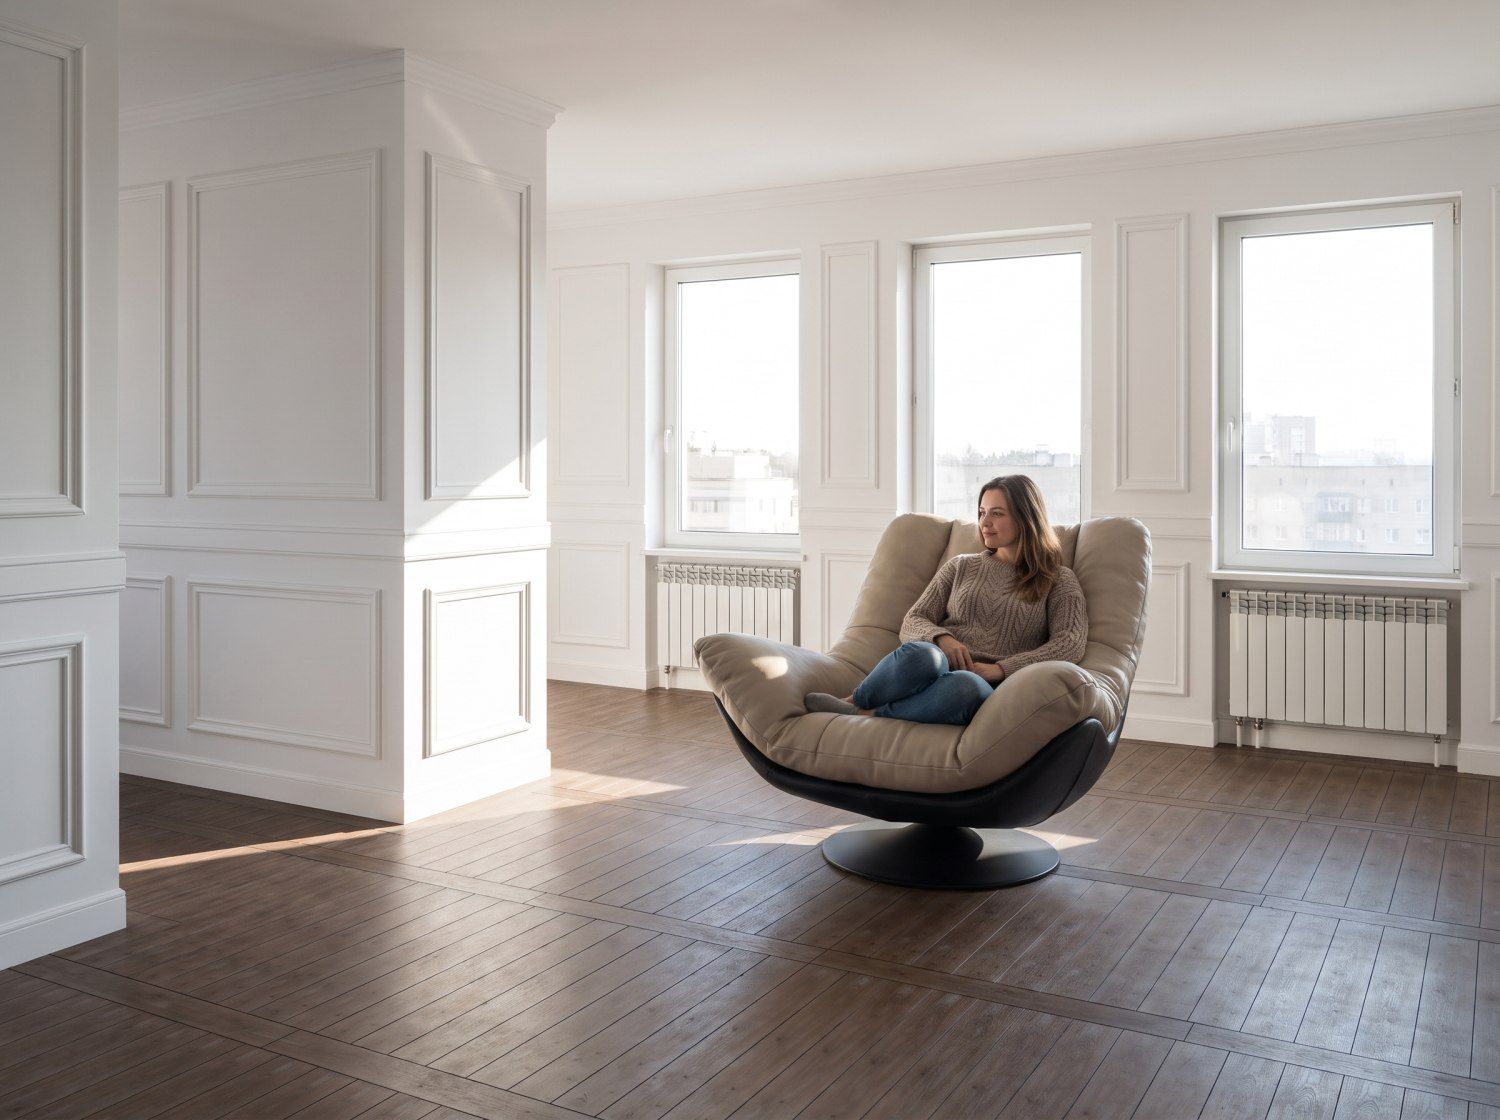
Everything you generate comes with a full commercial license, even on free credits. You can sell the models together with your project, show them in your portfolio, and render them like a product photo in the "Upload 3D model" tab.
In addition, from a generated visualization you can easily, in the Video tab, generate any kind of video in less than a minute. As you can see, Raya is so versatile that it can replace three different tools for you :)


